
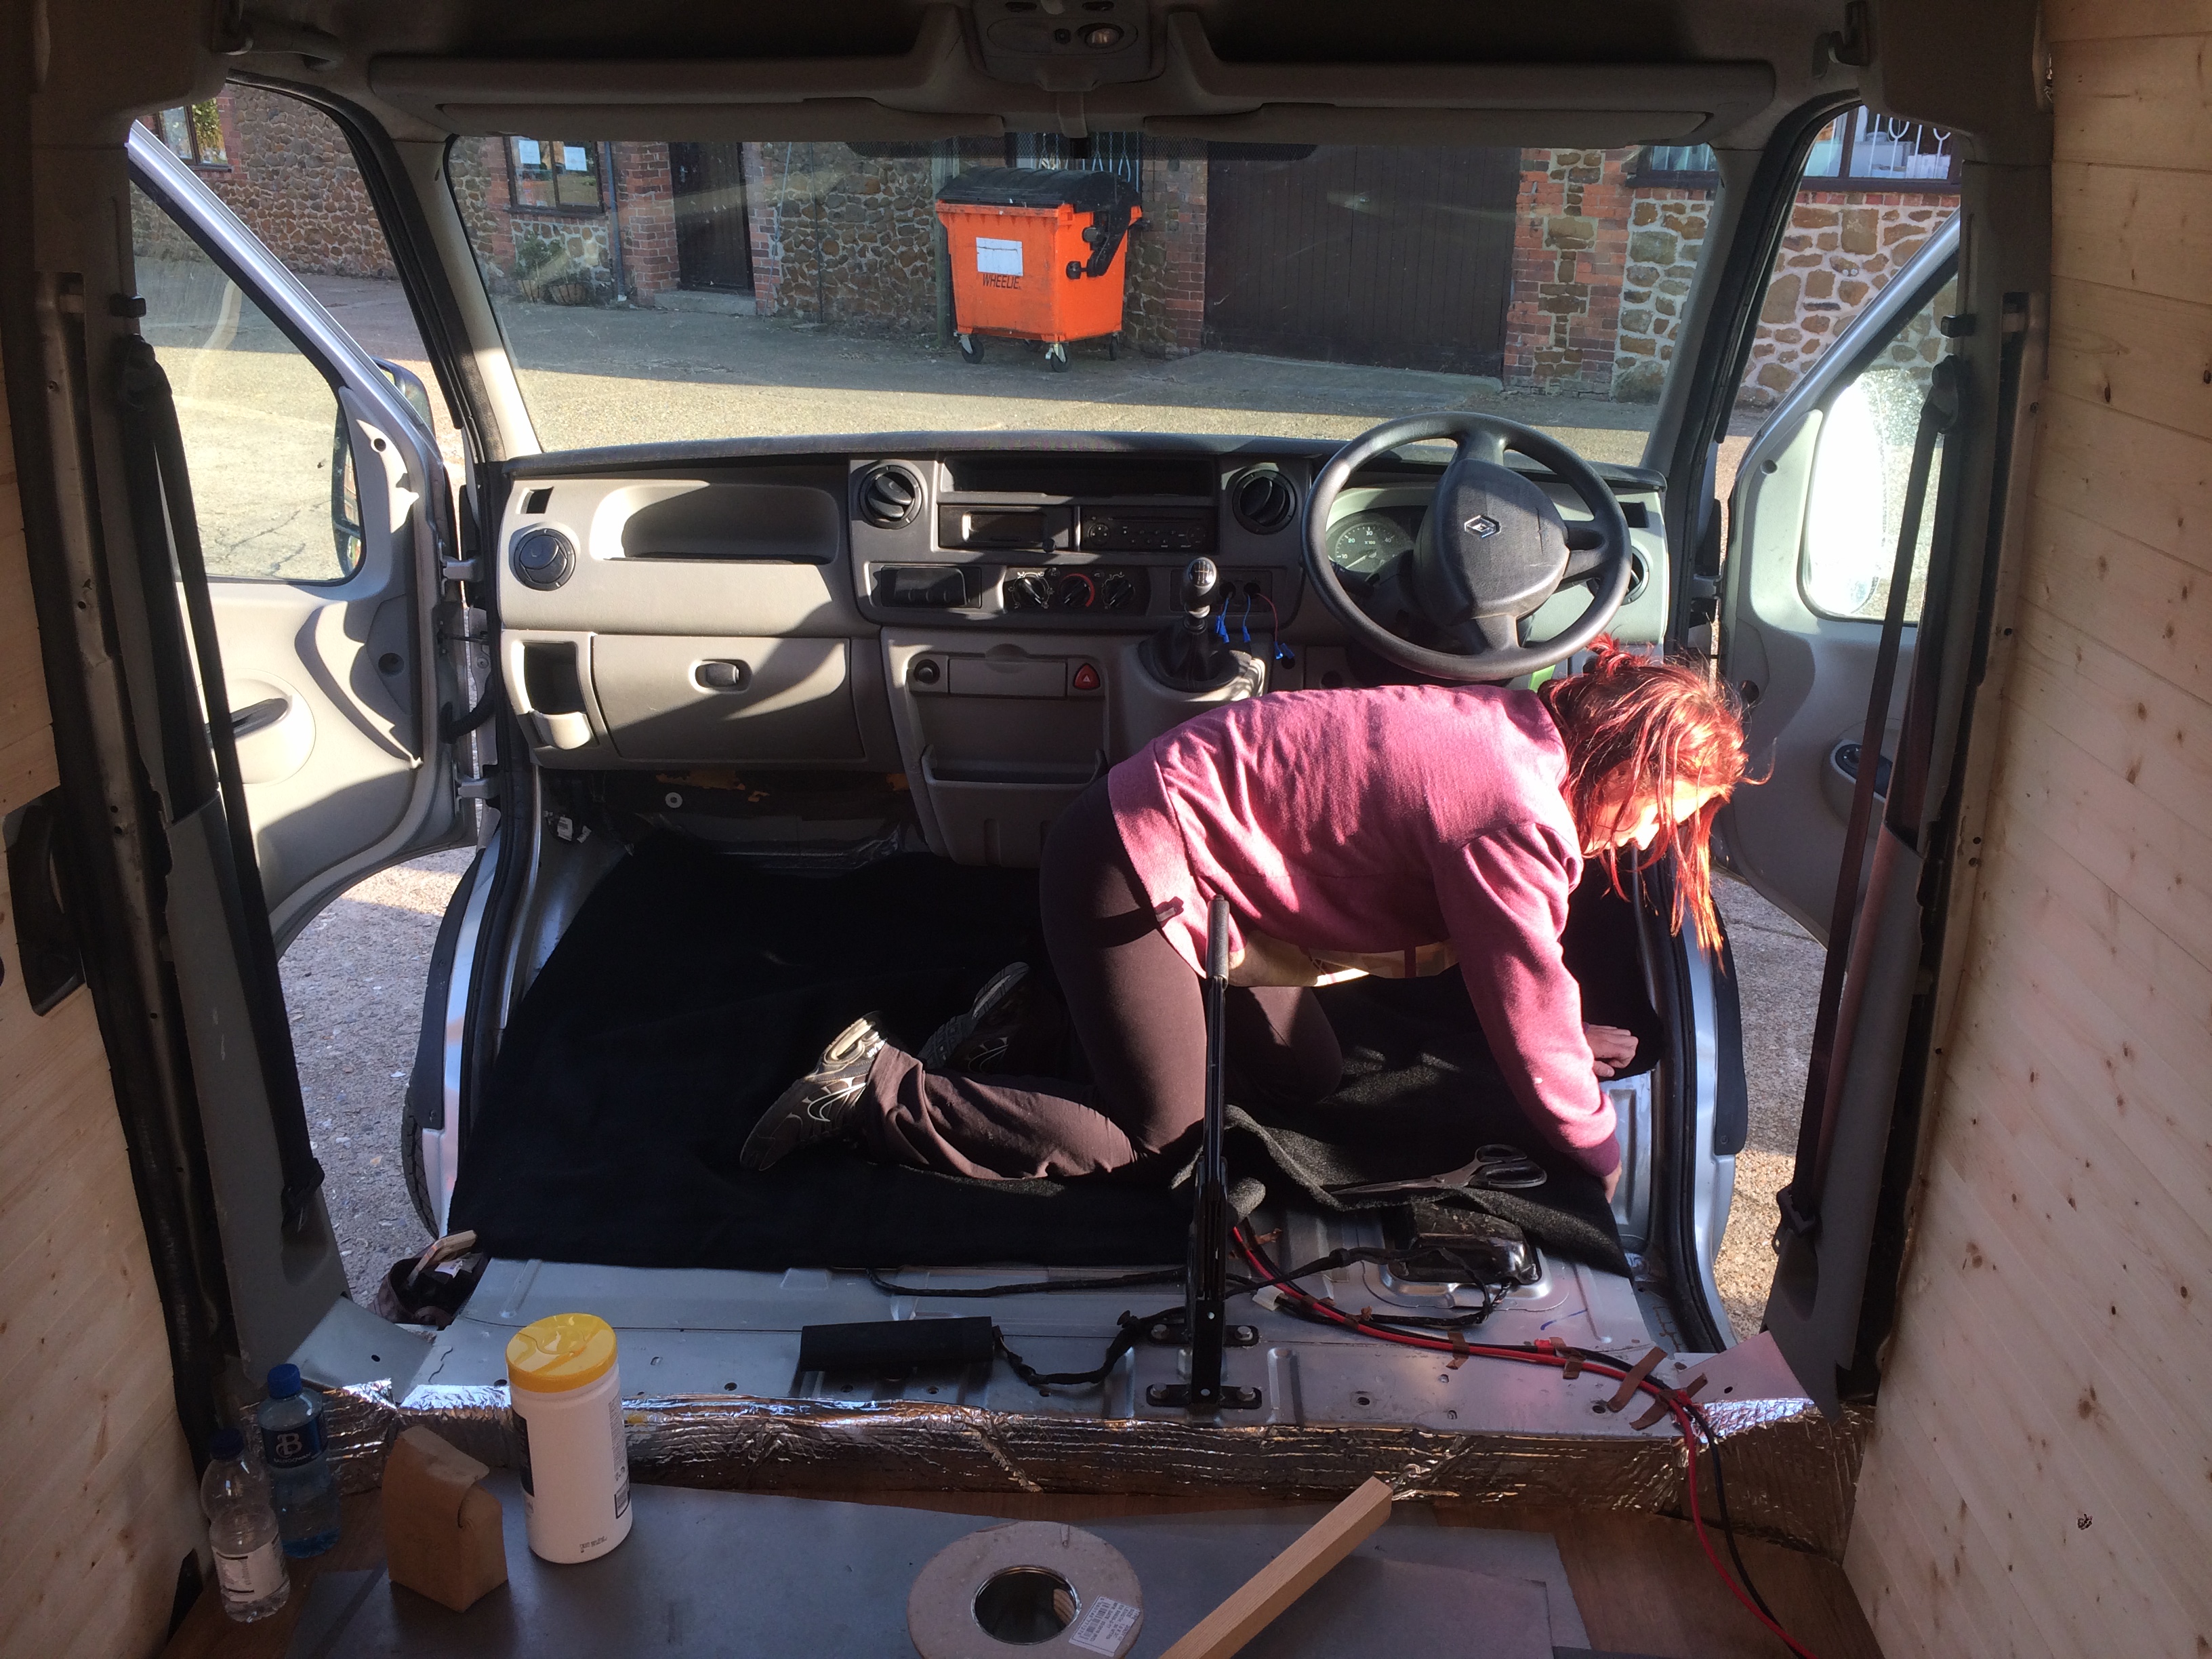
Now that our floors and walls were complete, we needed to add the furniture so that we could hit the road. We begun by laying some cheap carpet in the front of the van. It was really bad stuff, but we couldn’t argue with the price and we threw out the old carpet because it was disgusting. We used spray adhesive to make it stick… except that it didn’t really stick, so it is mostly held in place by gravity until we drive around corners.
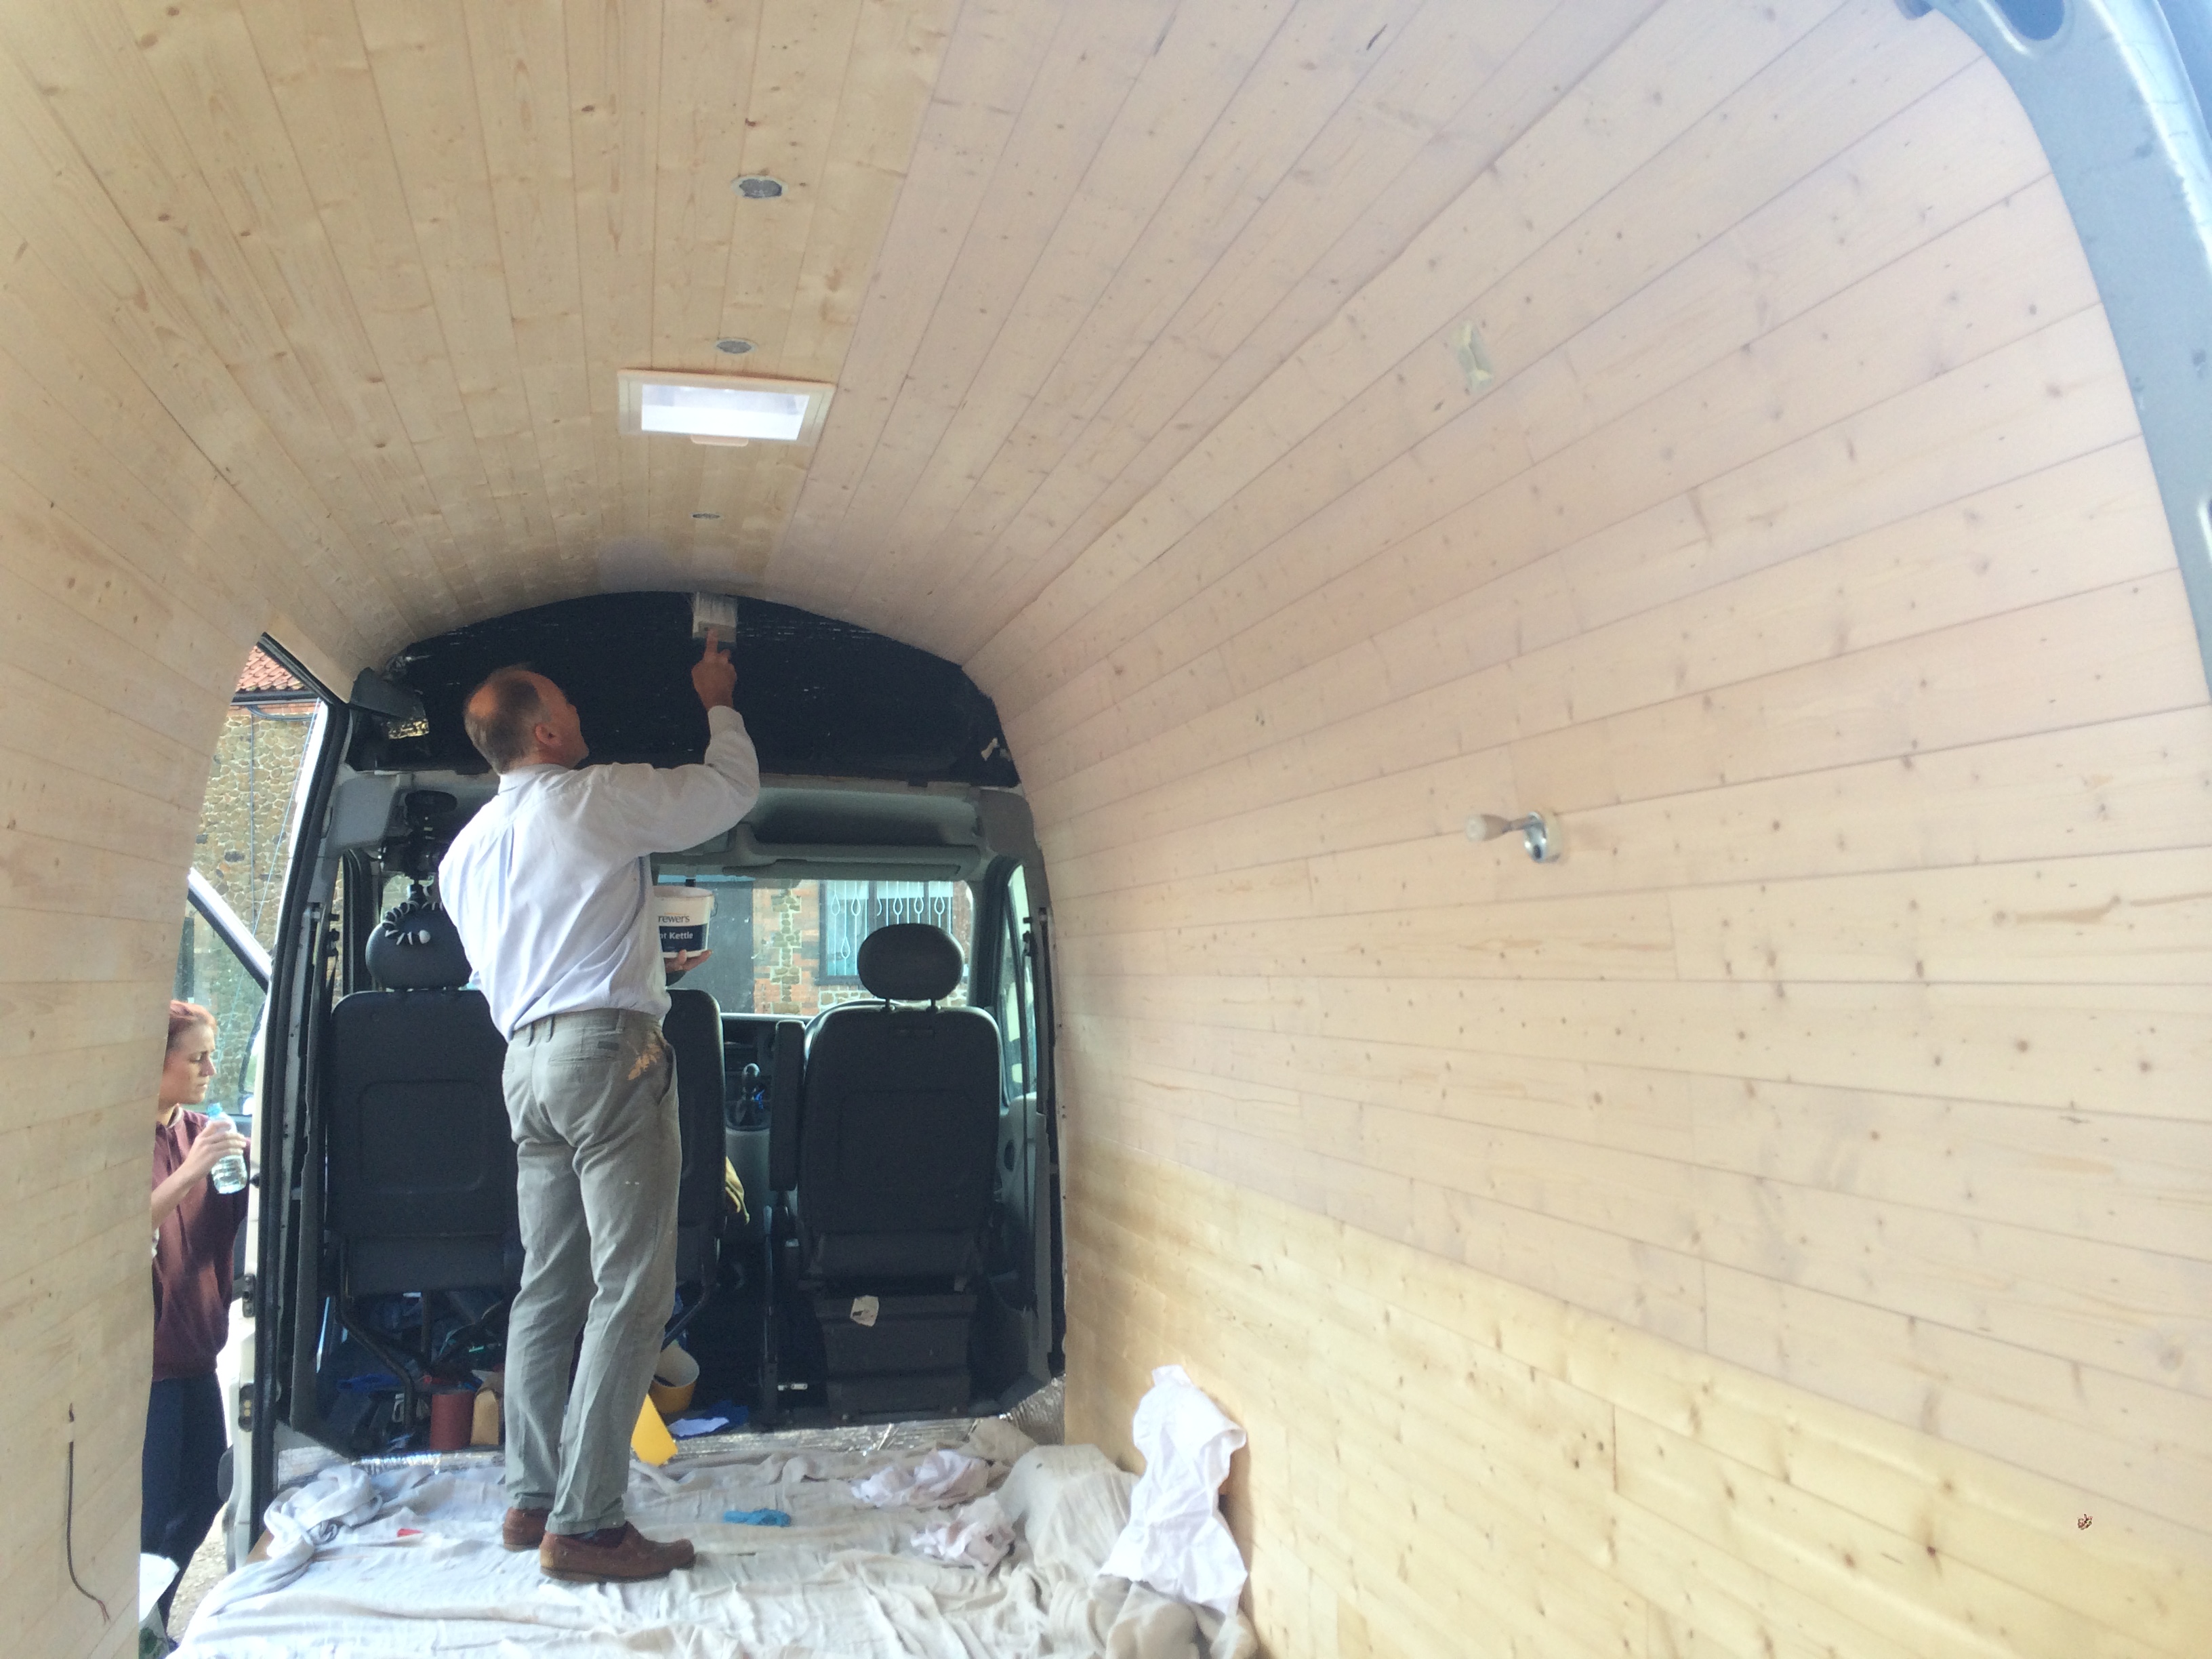
I had initially wanted to stain the walls with a dark, hardwood-like stain, but I was persuaded to go for lighter colours. My dad showed us how to paint on a light coat, then wipe it off with a rag, giving a washed out, soft white finish. This worked really well and made the van seem more spacious.
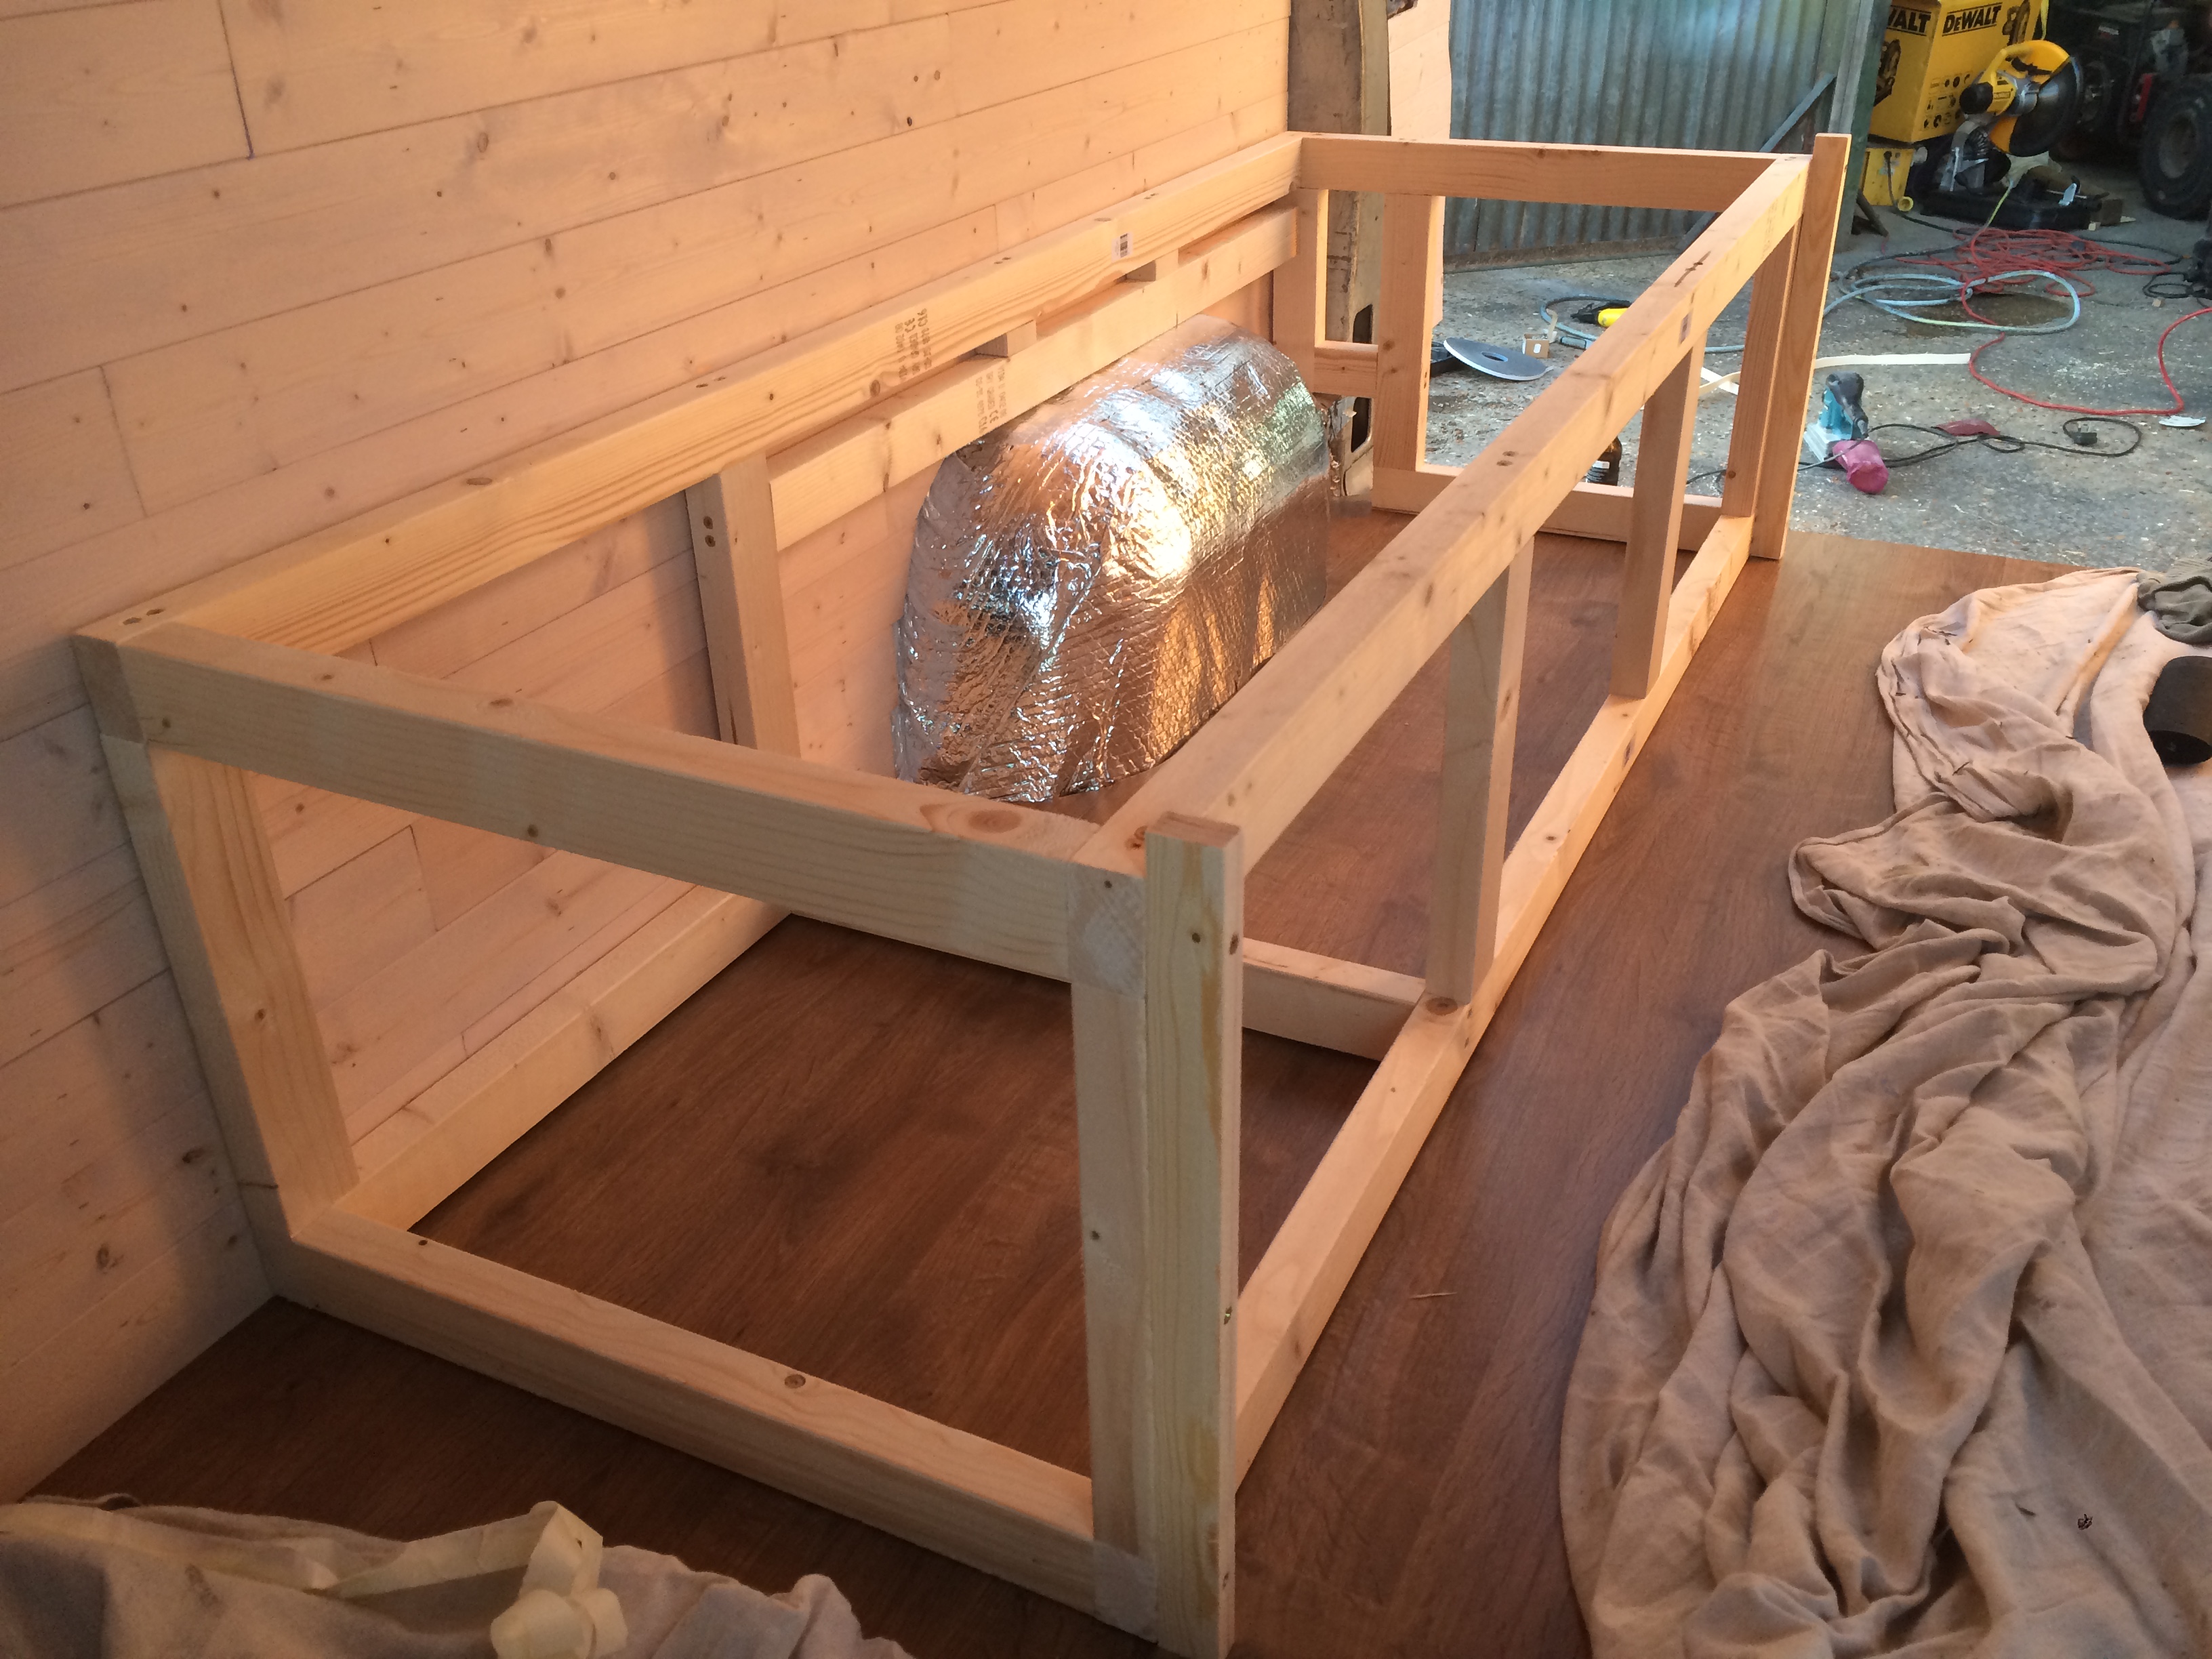
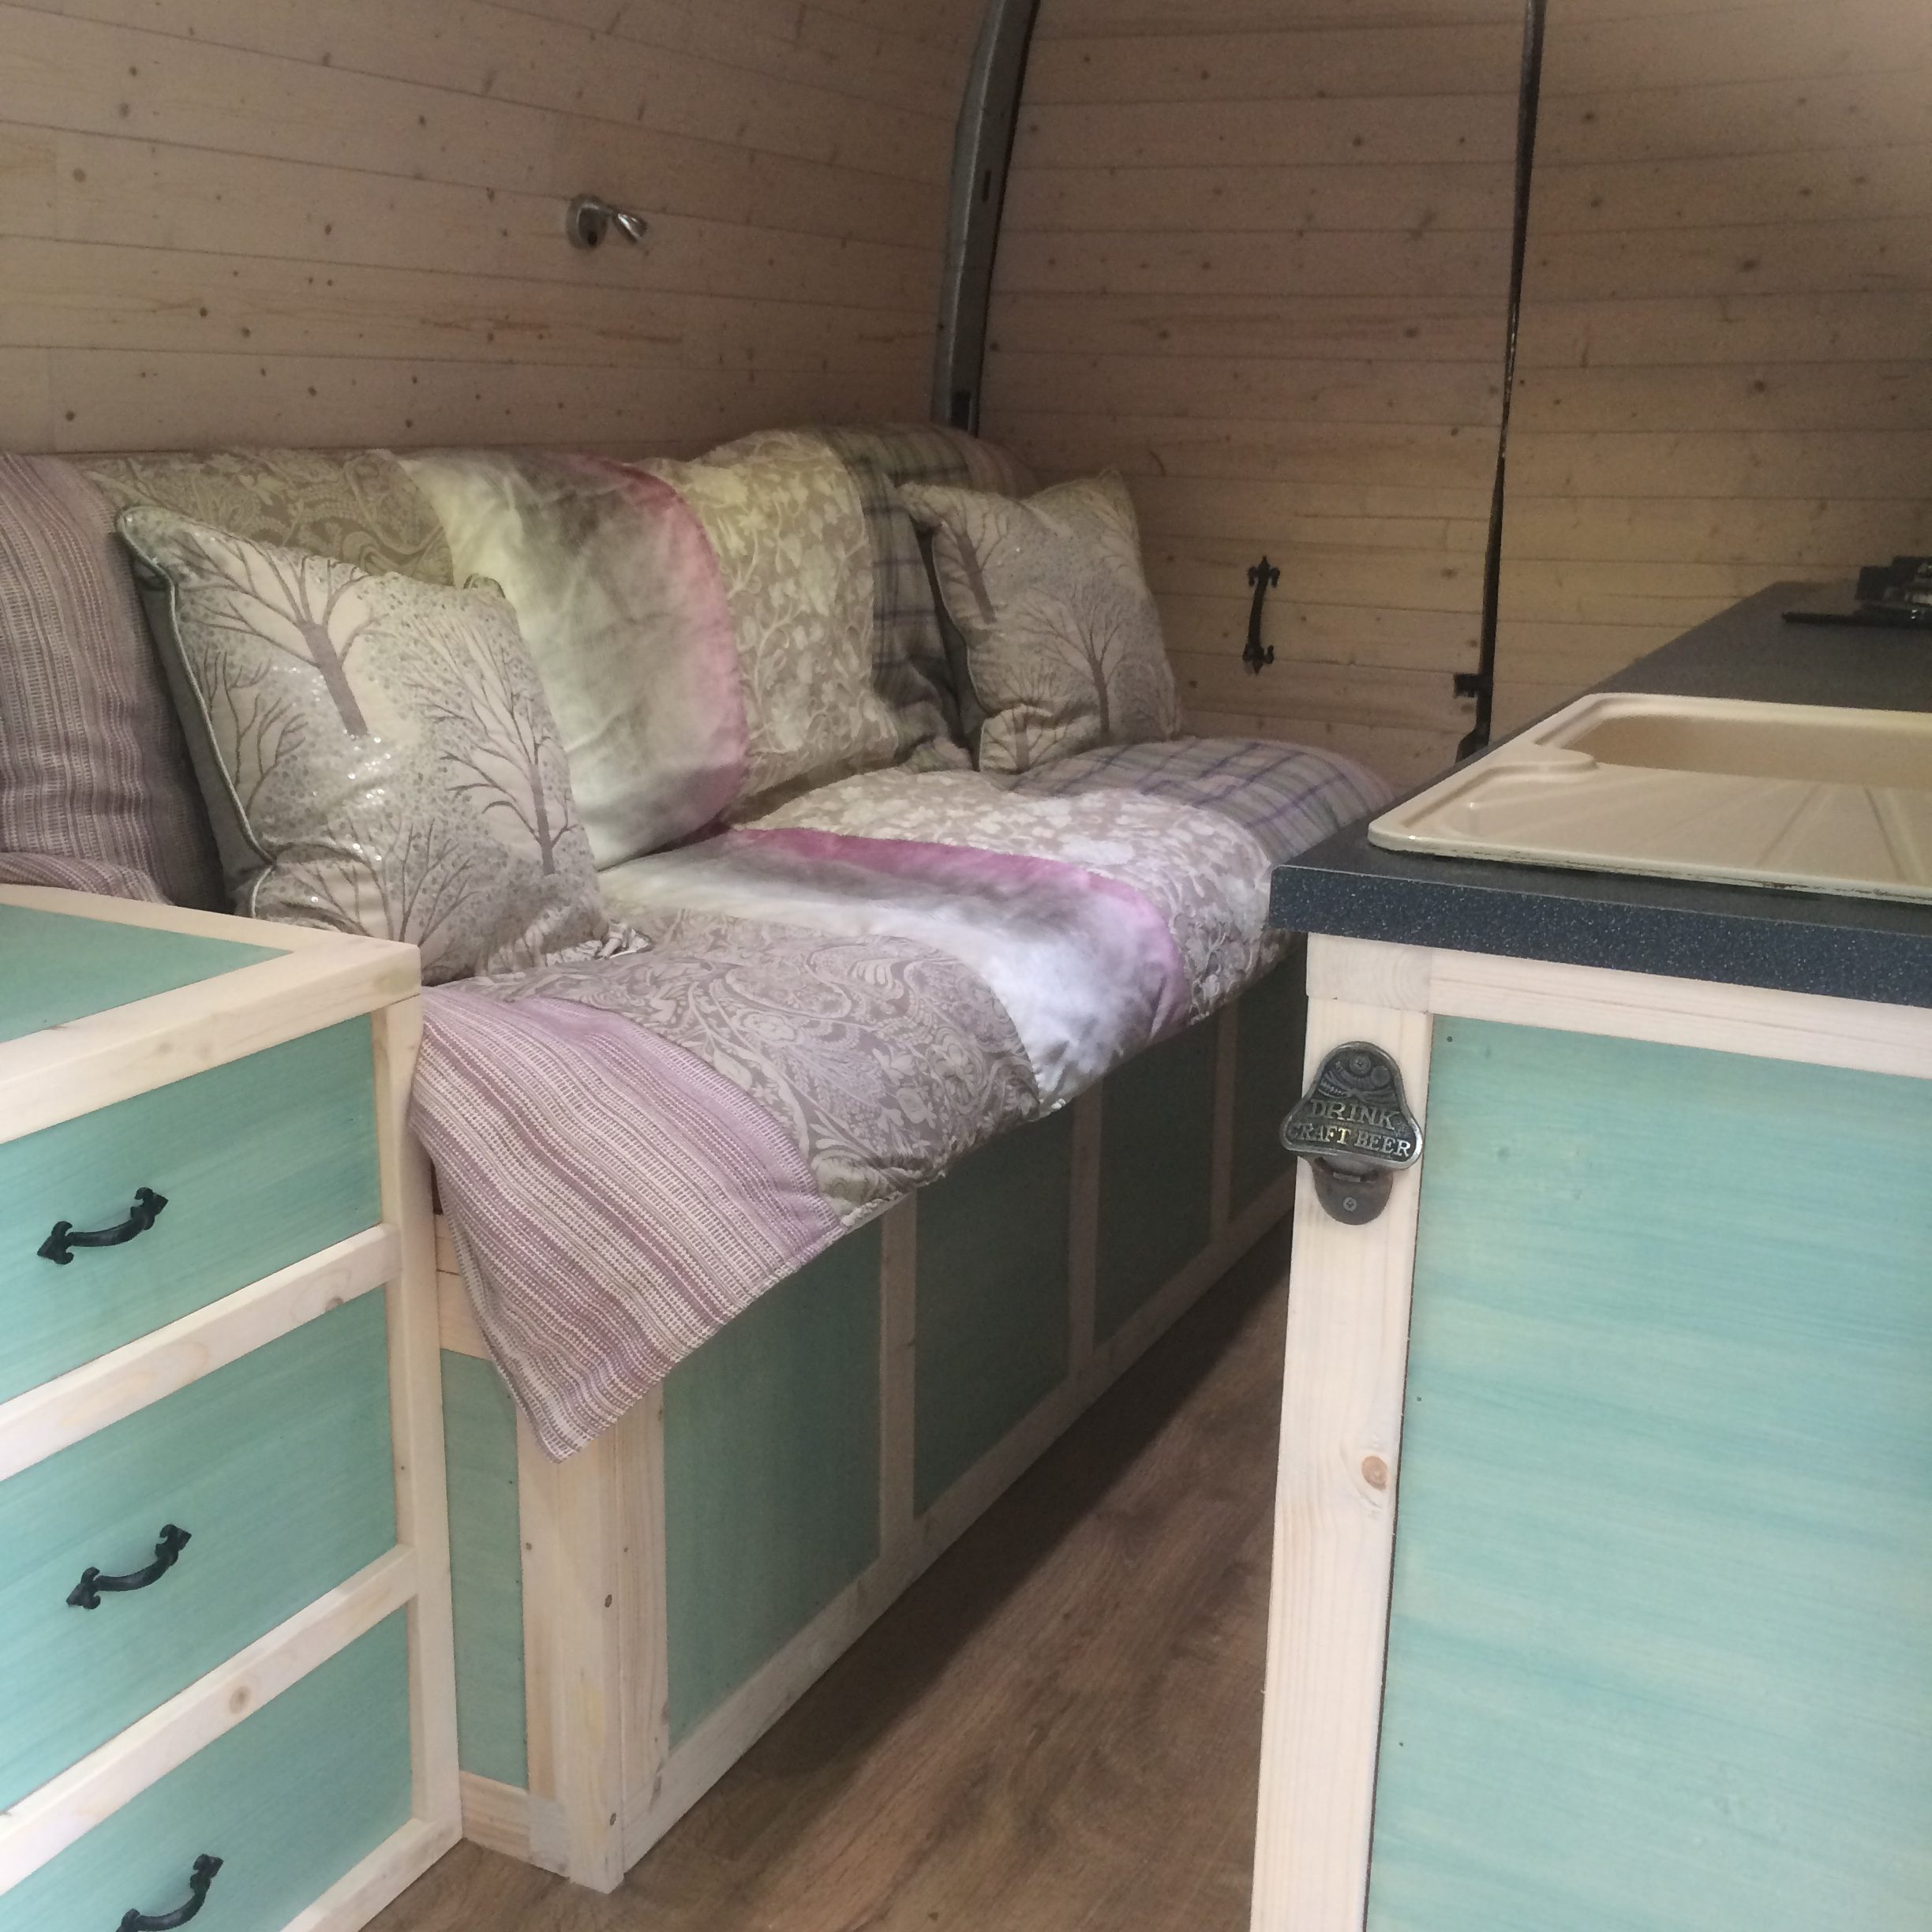
I spent quite a while building a well measured sofa-bed frame that I thought was pretty awesome. It was quite a pain to get it to fit perfectly over the wheel arches (which it had to do for support) and when I finished I proudly showed my dad who said it looked flimsy. I was not particularly happy at this and said it definitely was not too flimsy before conceding that it probably was too flimsy. I built the exact same frame a second time with much thicker wood which gave a much stronger base and I’m happy I did this.
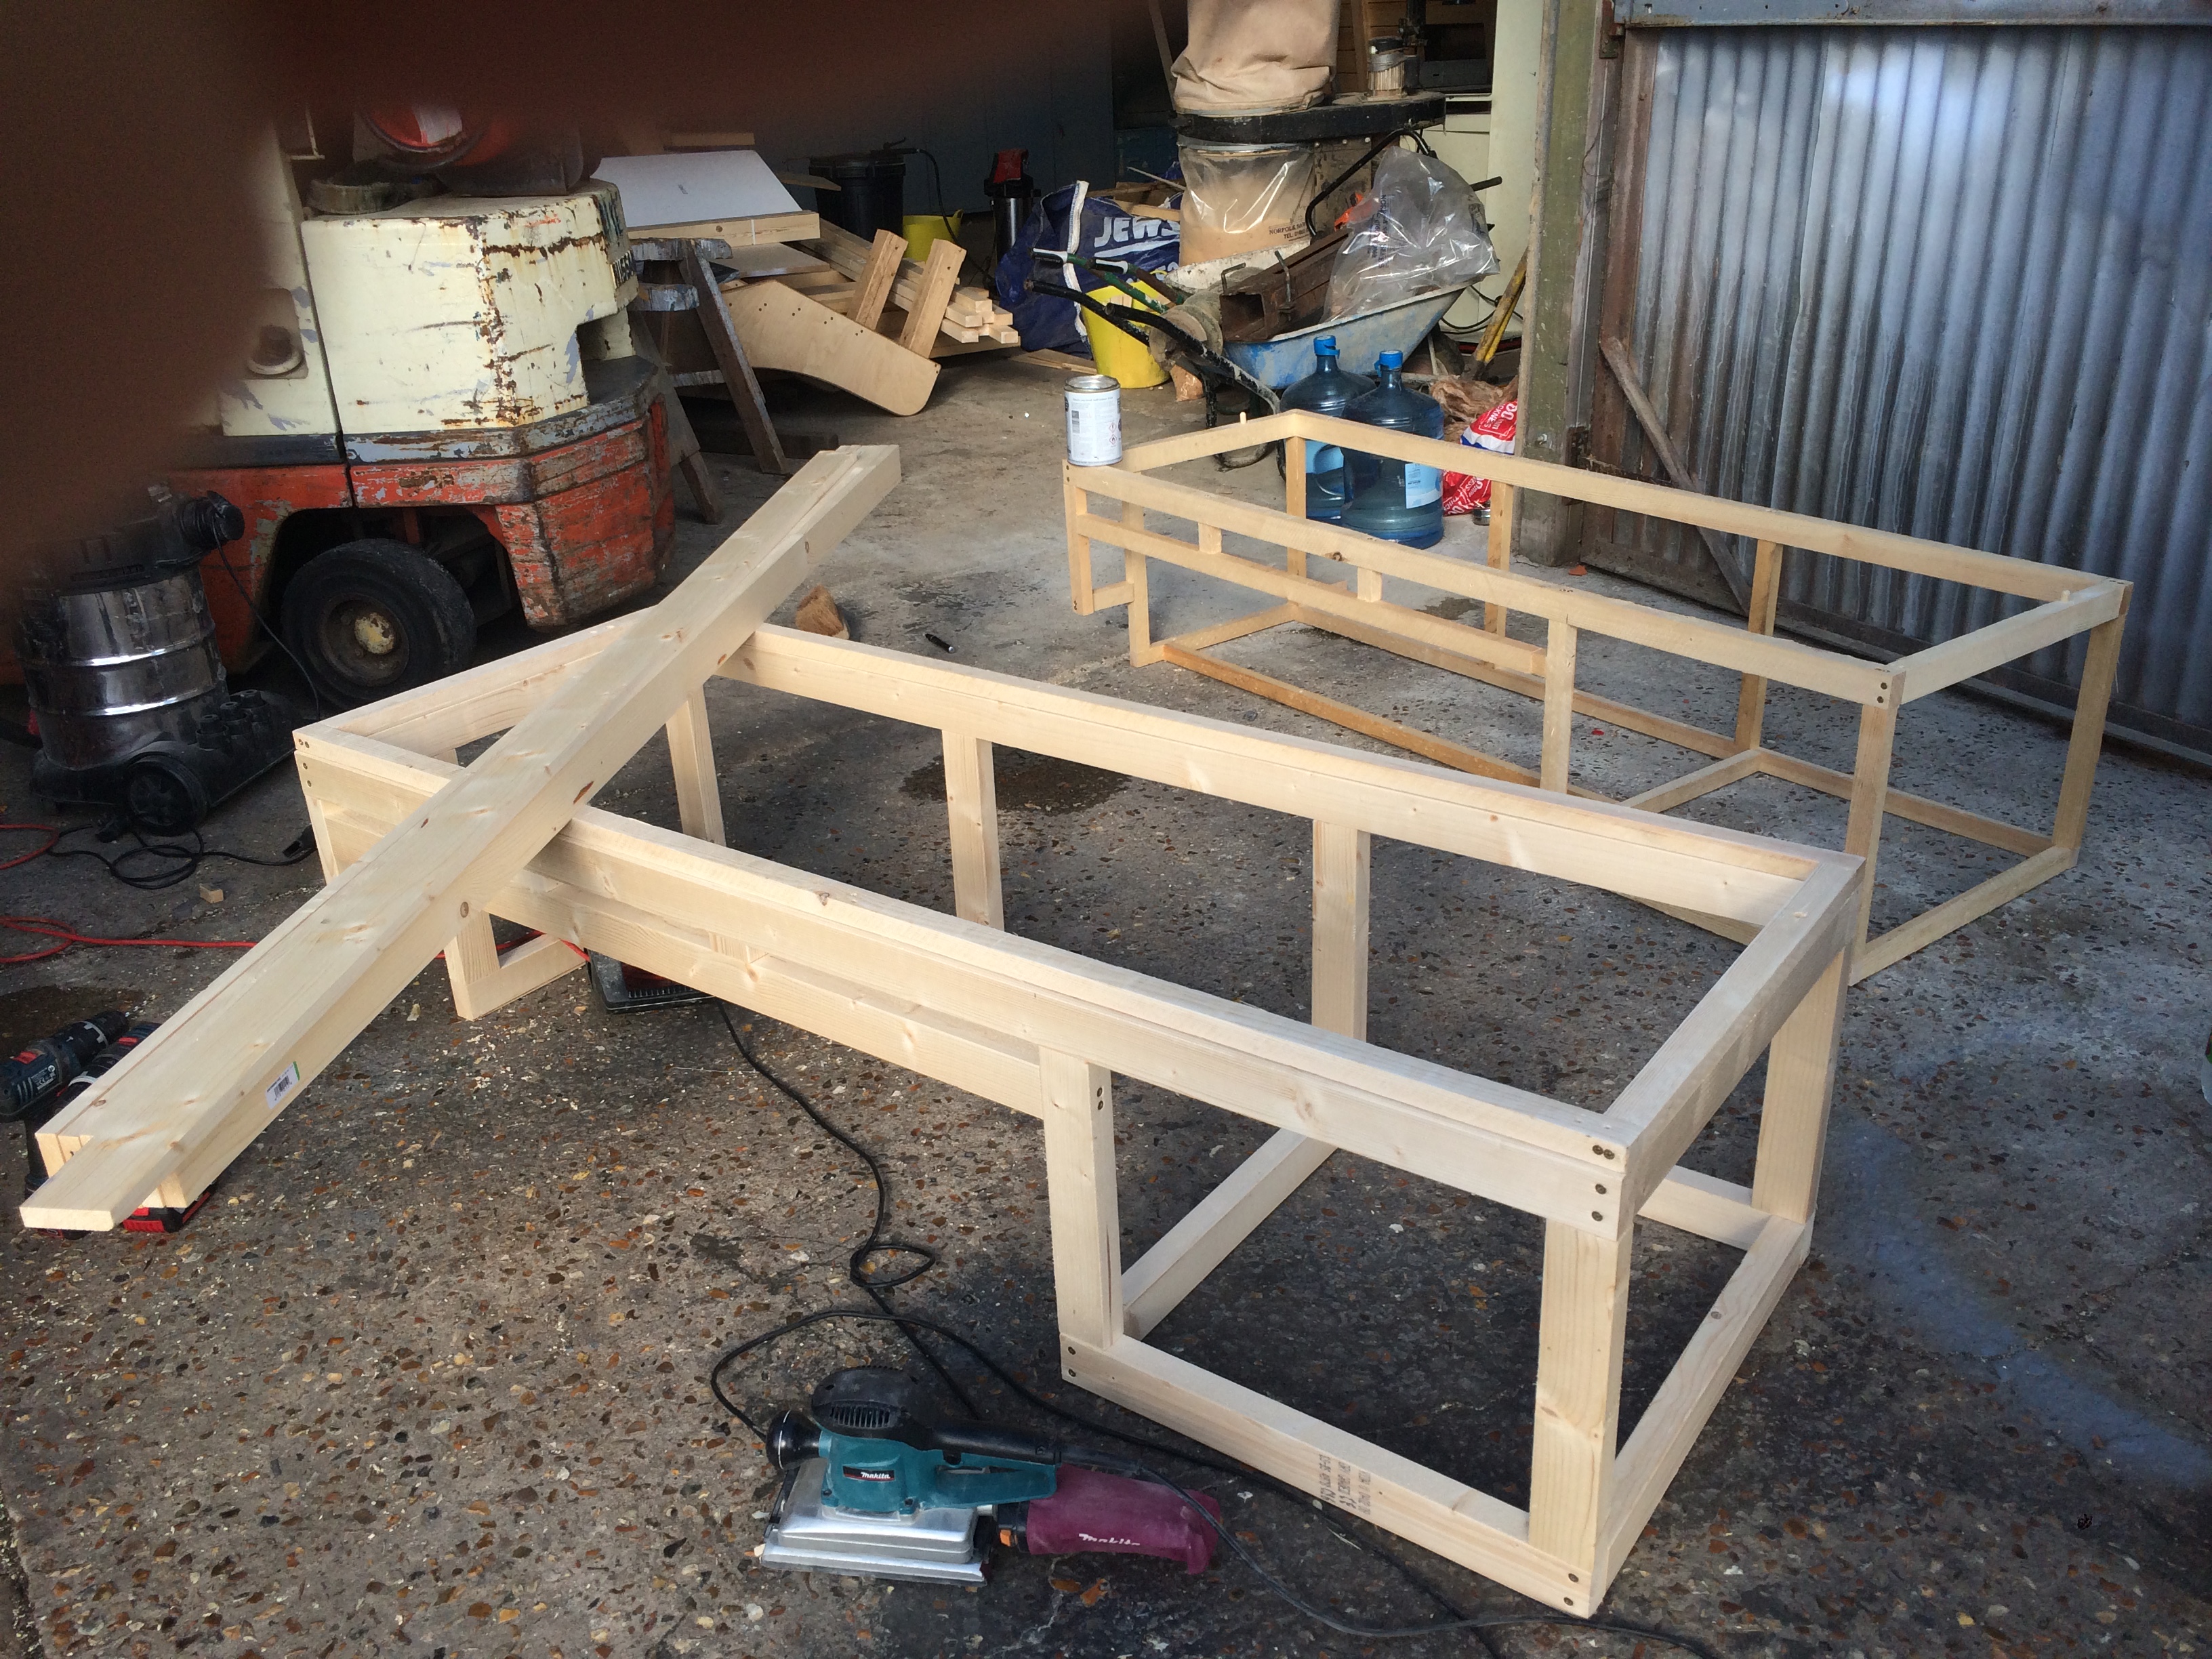
I then secured the sofa-bed frame into the van by drilling it into the walls and floor. This will serve three purposes:
- Storage (under the bed in the space you can see)
- A 3-4 Four Person Sofa (183cm long)
- A Double Bed (when folded out)
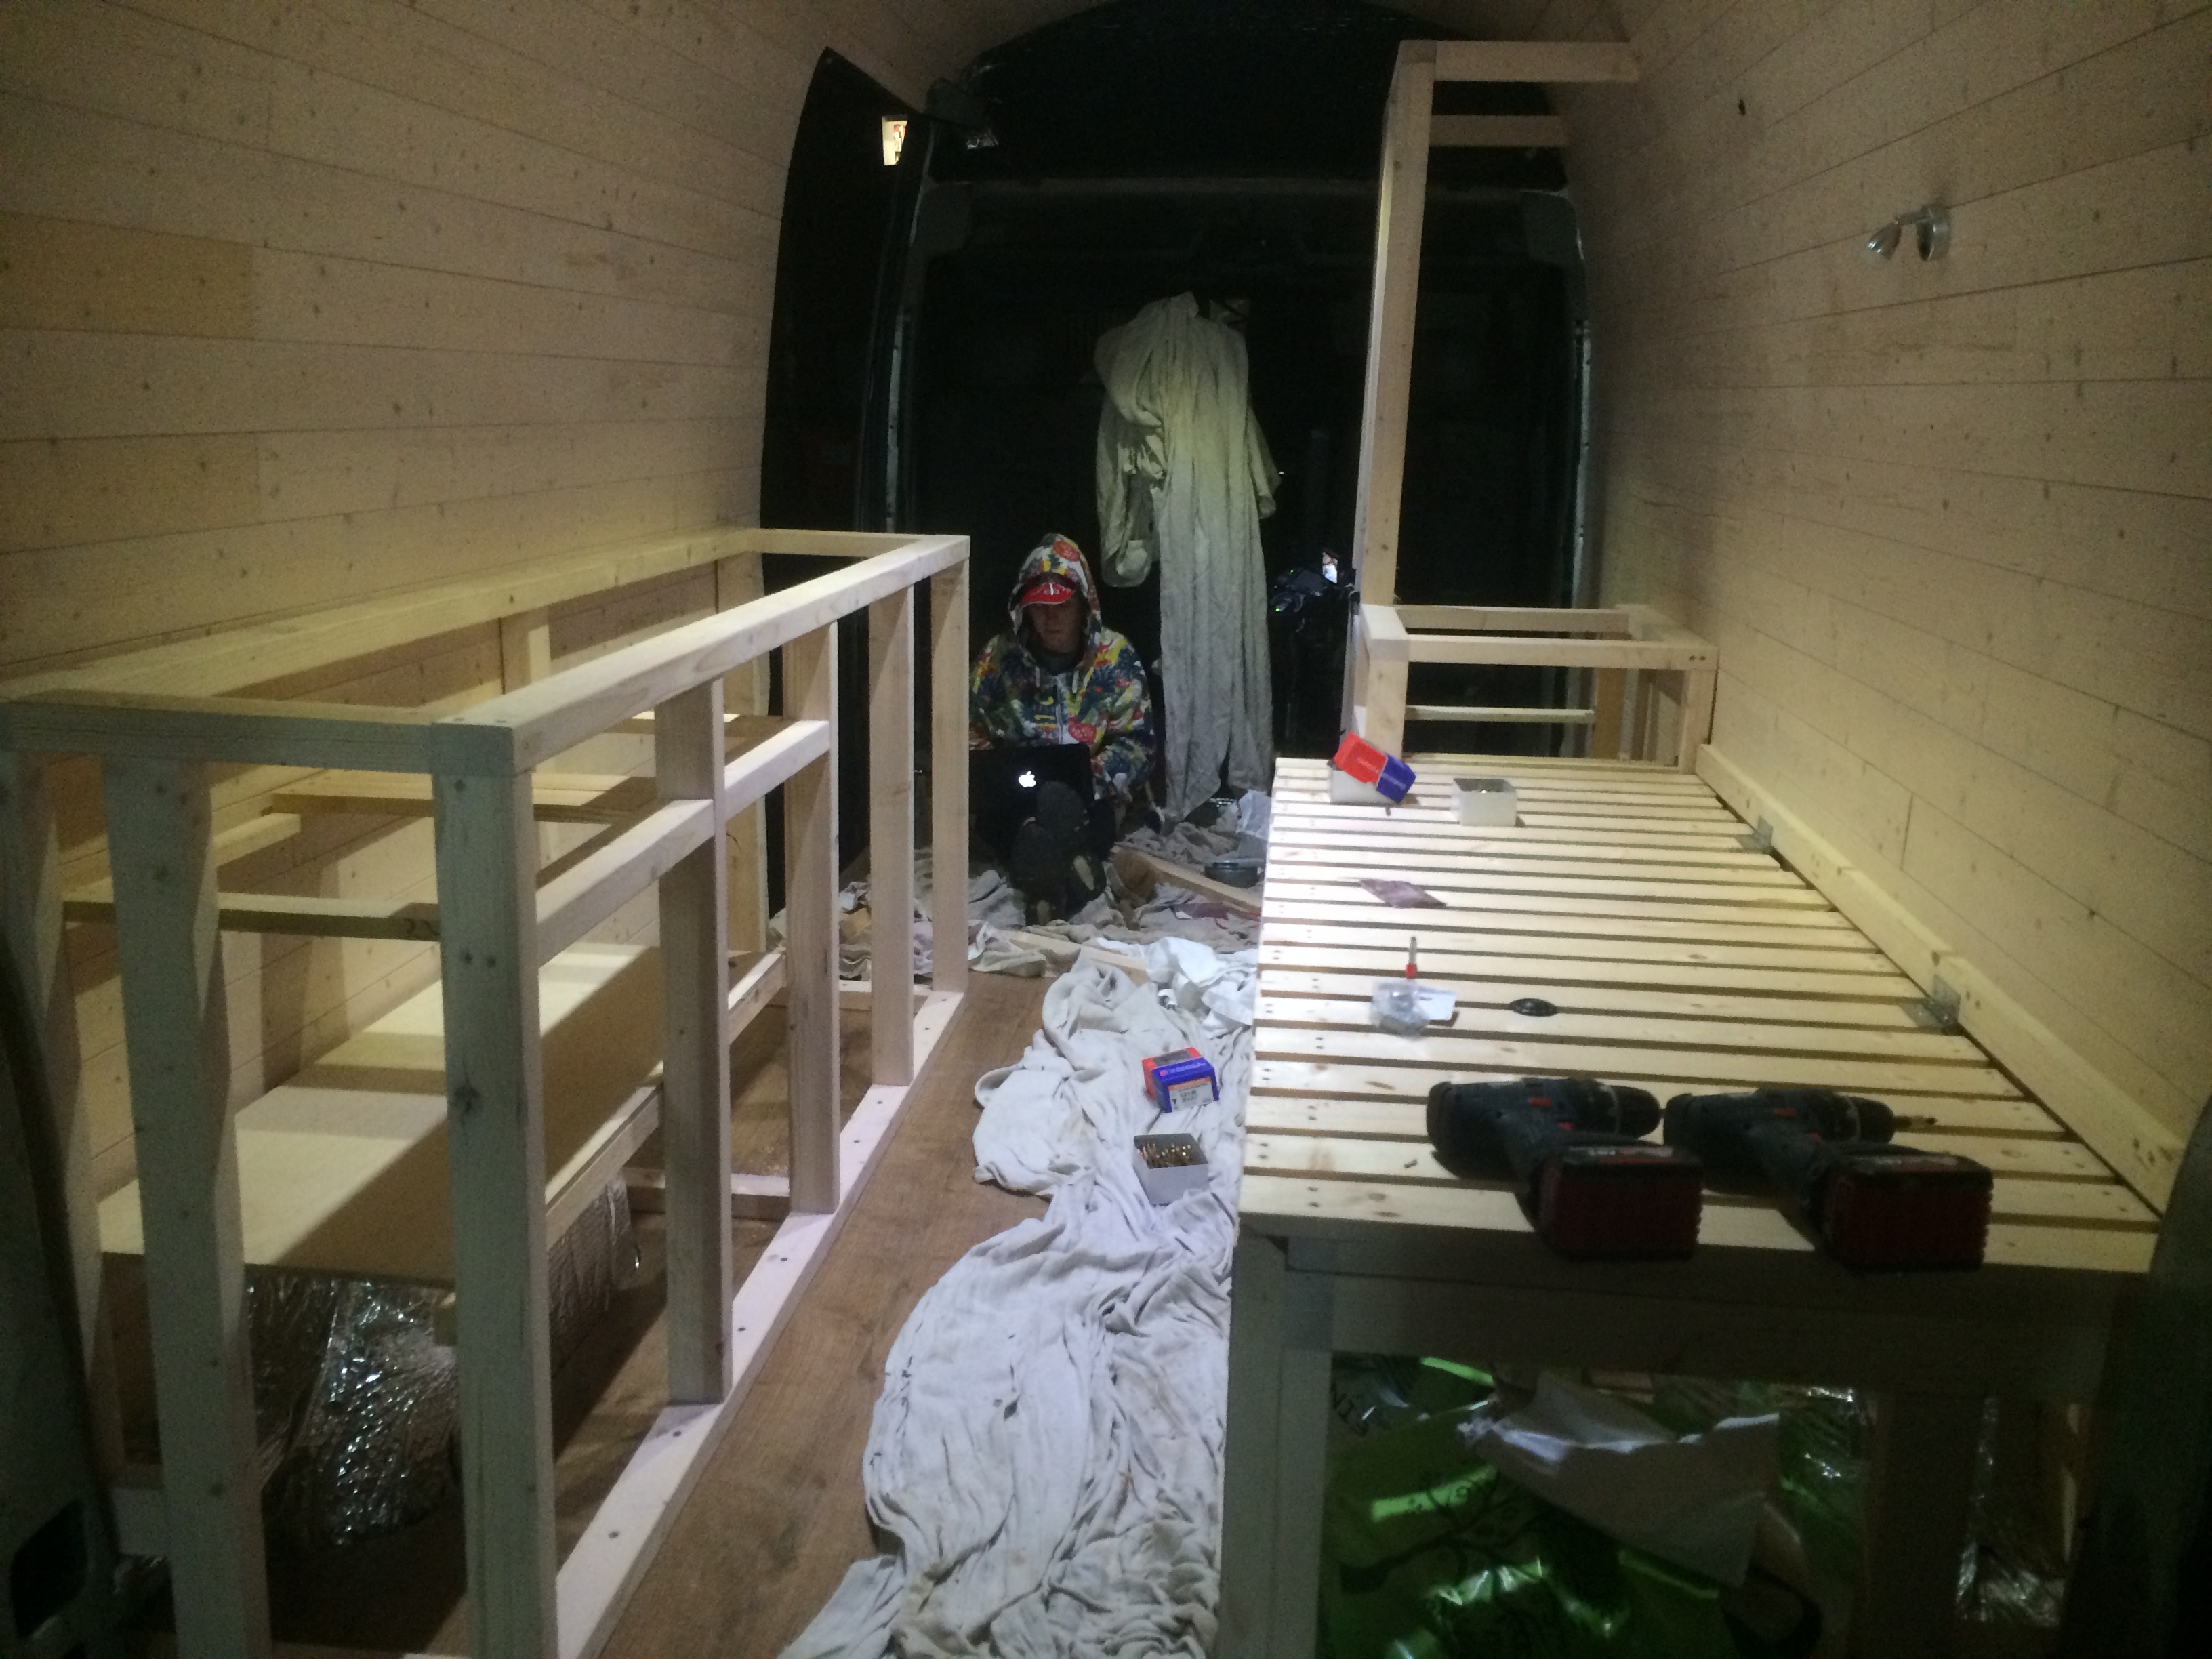
I then made a frame that fits onto the front of the bed and slides in and out. On top of the frame, I fixed slats, half attached to the sliding part, the other half attached to the fixed, sofa part. This allows the transition from sofa to bed, making it a sofa-bed.

I love this sofa-bed design and it has been incredible for saving space and offering storage, but I will explain it fully in another post. Just to demonstrate, it utilises a system of hinges and dowels to do all of this…

I then used thicker bits of wood to create frames for the kitchen and wardrobe. I built the kitchen outside the van then carried it in and fixed it to the floor and walls, whilst I built the wardrobe in place, cutting each piece as I needed it. Both designs use simple butt joints and are odd shaped due to the curvature of the van walls.
All the cupboard doors were made as simple frames attached to a thin piece of ply. I had to measure each of these individually and adjust them multiple times as the cupboards aren’t square. Some of the doors are nearly 10mm wider at the top than the bottom due to the way I installed the wardrobe. As the kitchen unit was built outside the van where I could build it square with a level, it has pretty straight doors.

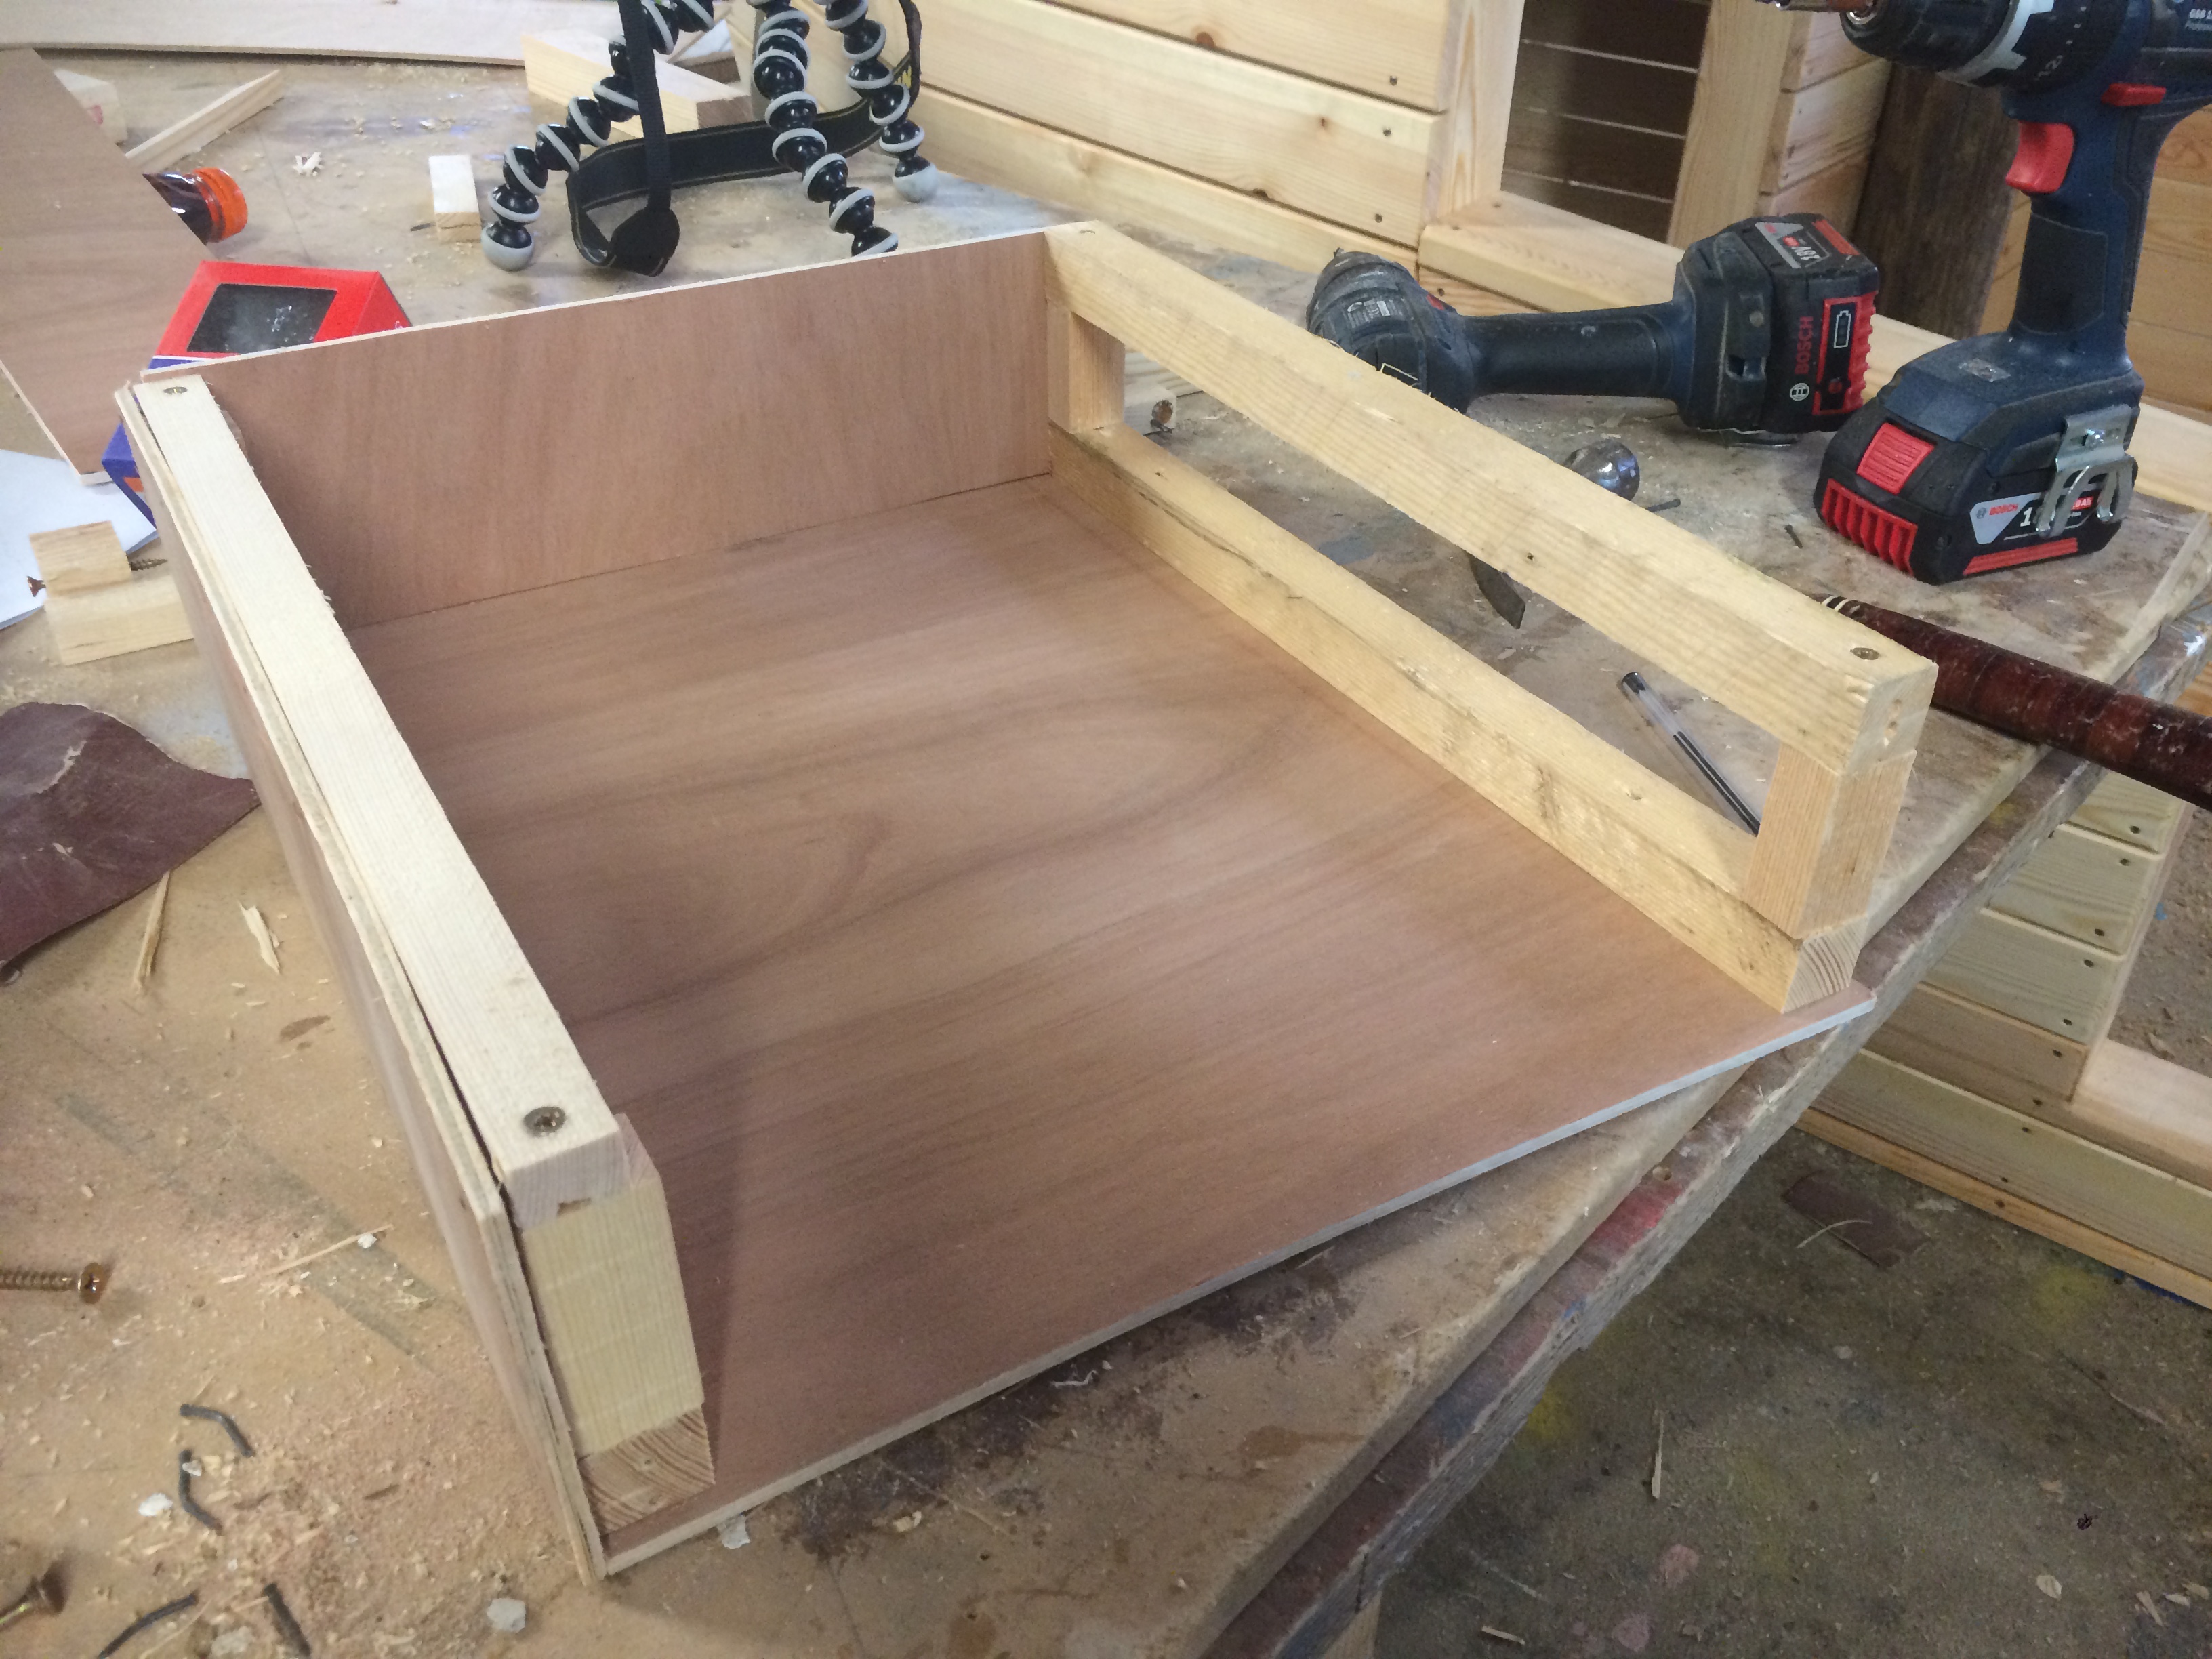
I built drawers in similarly simple ways, constructing simple frames at the front and back which were then joined with walls made of thin ply. They actually came out stronger than I expected and will be plenty strong enough to carry the small things that they will need to carry.
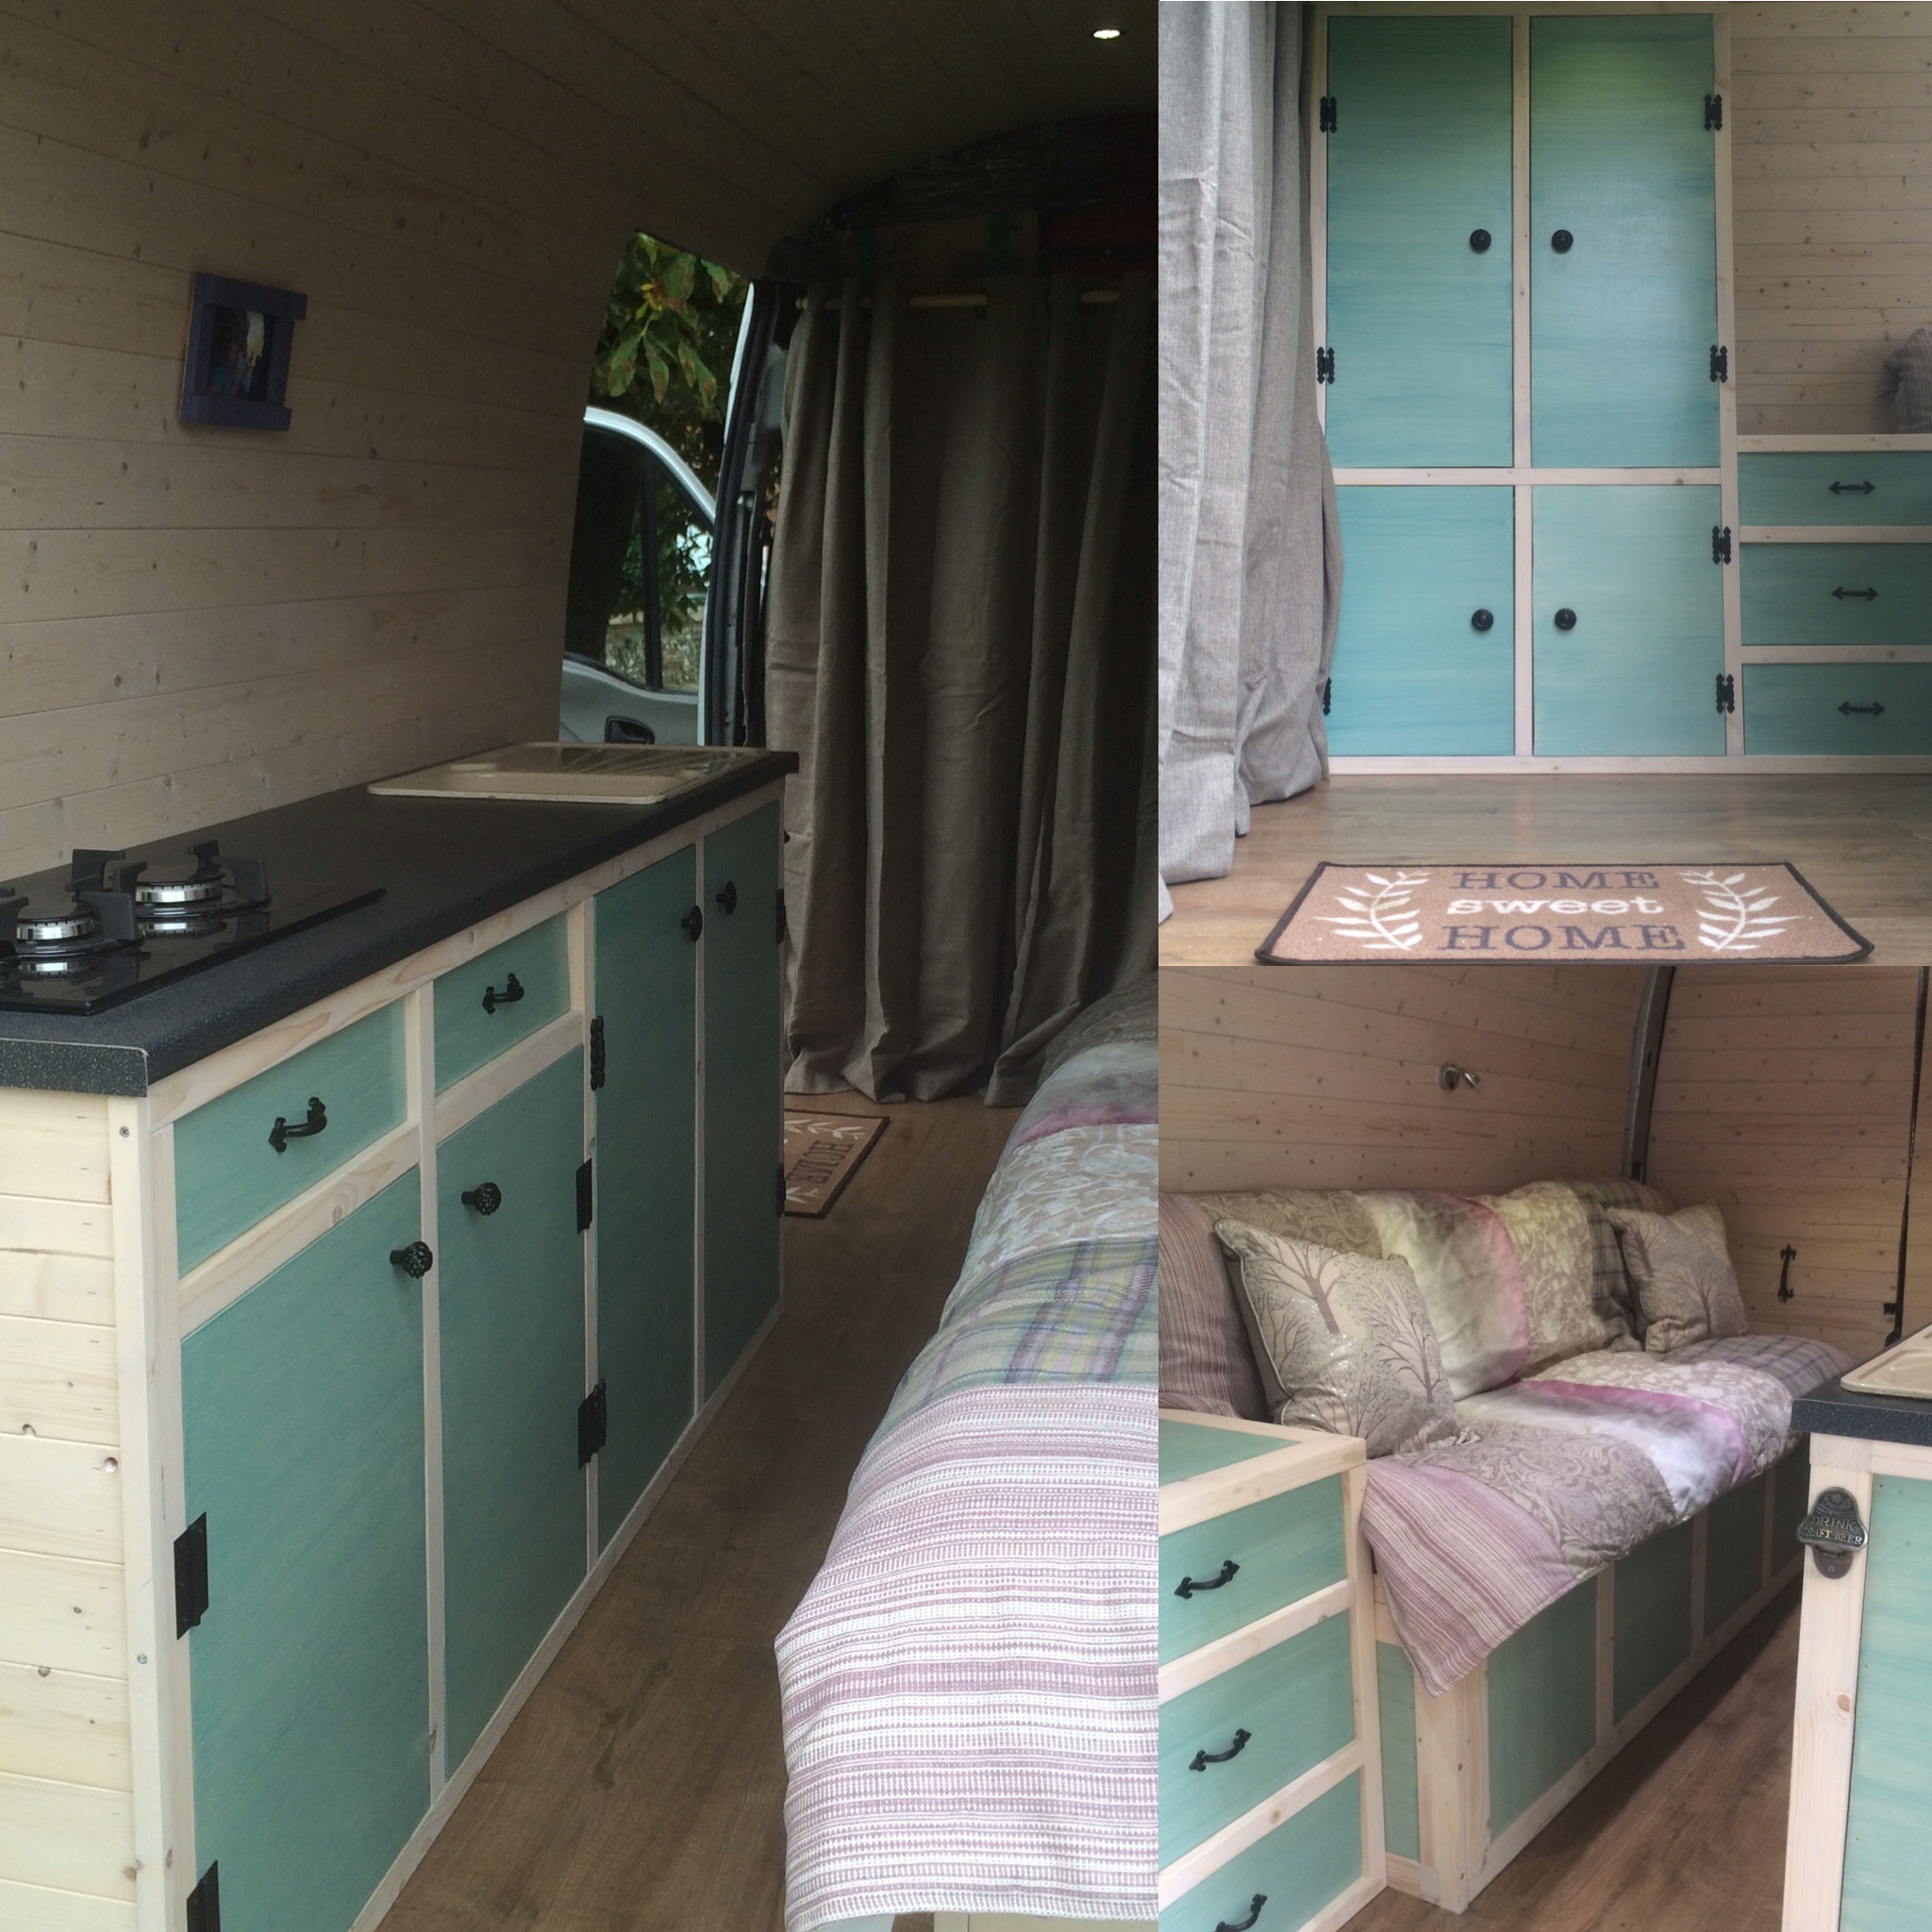
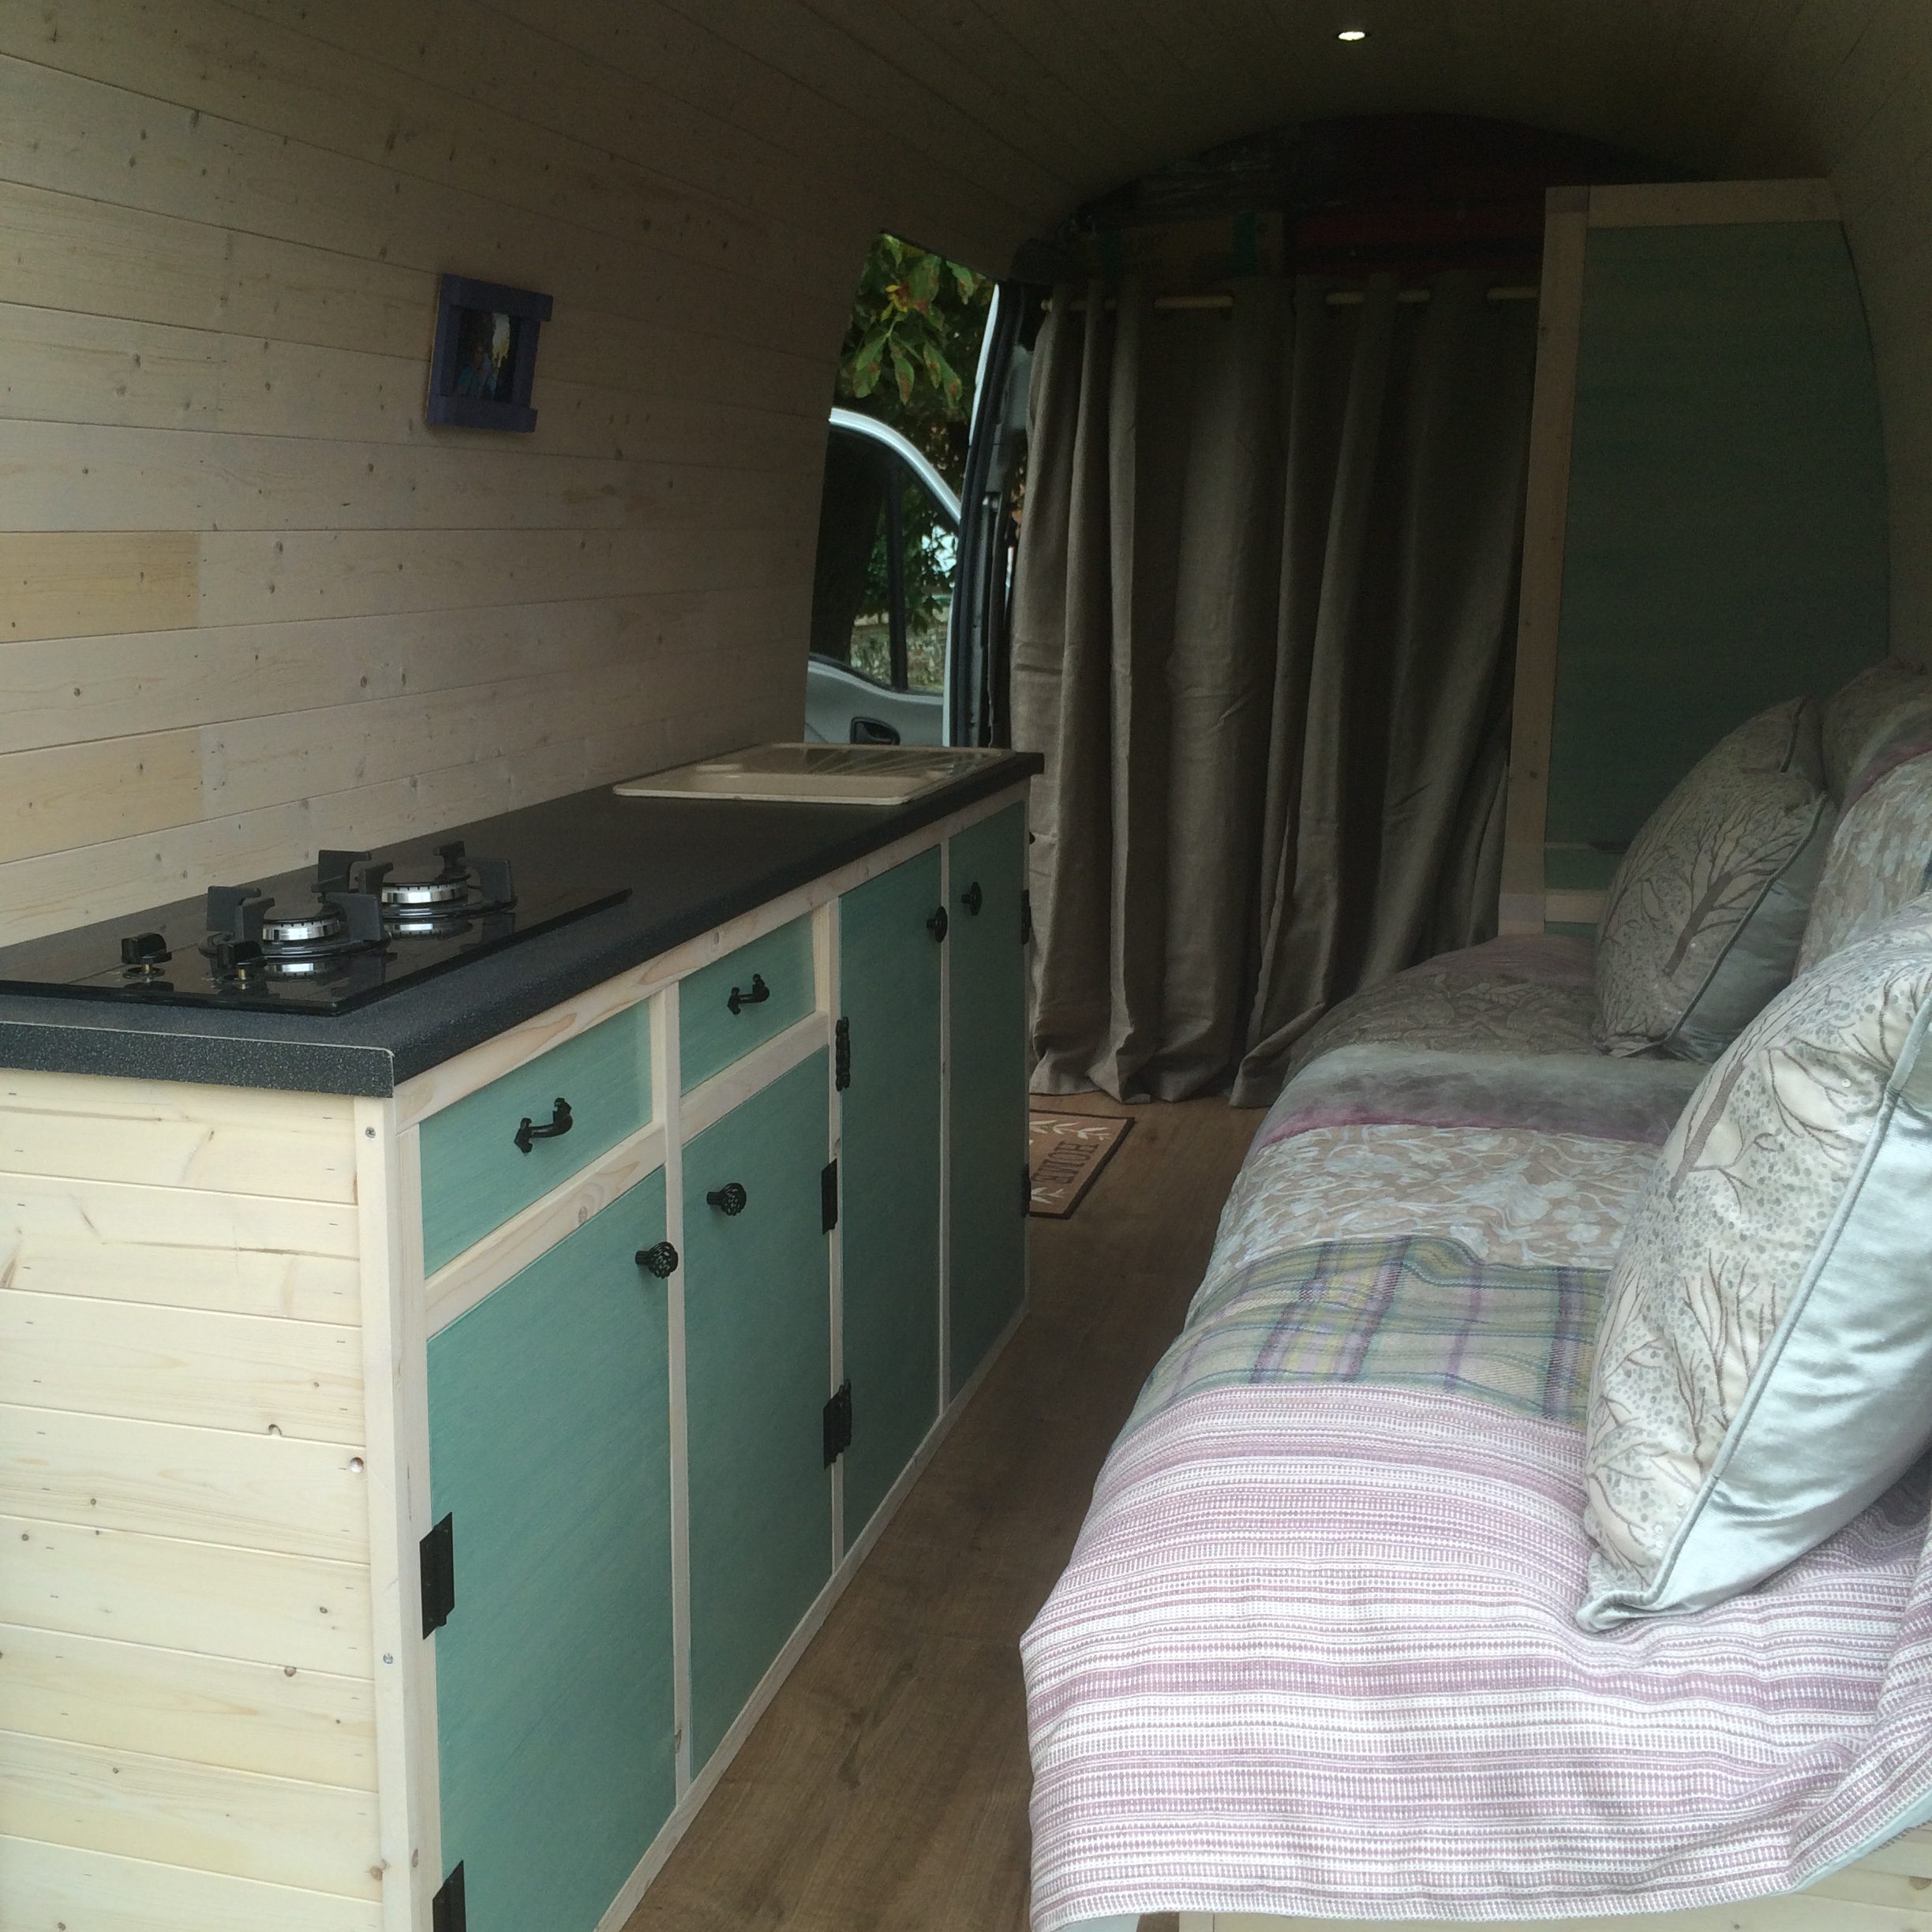
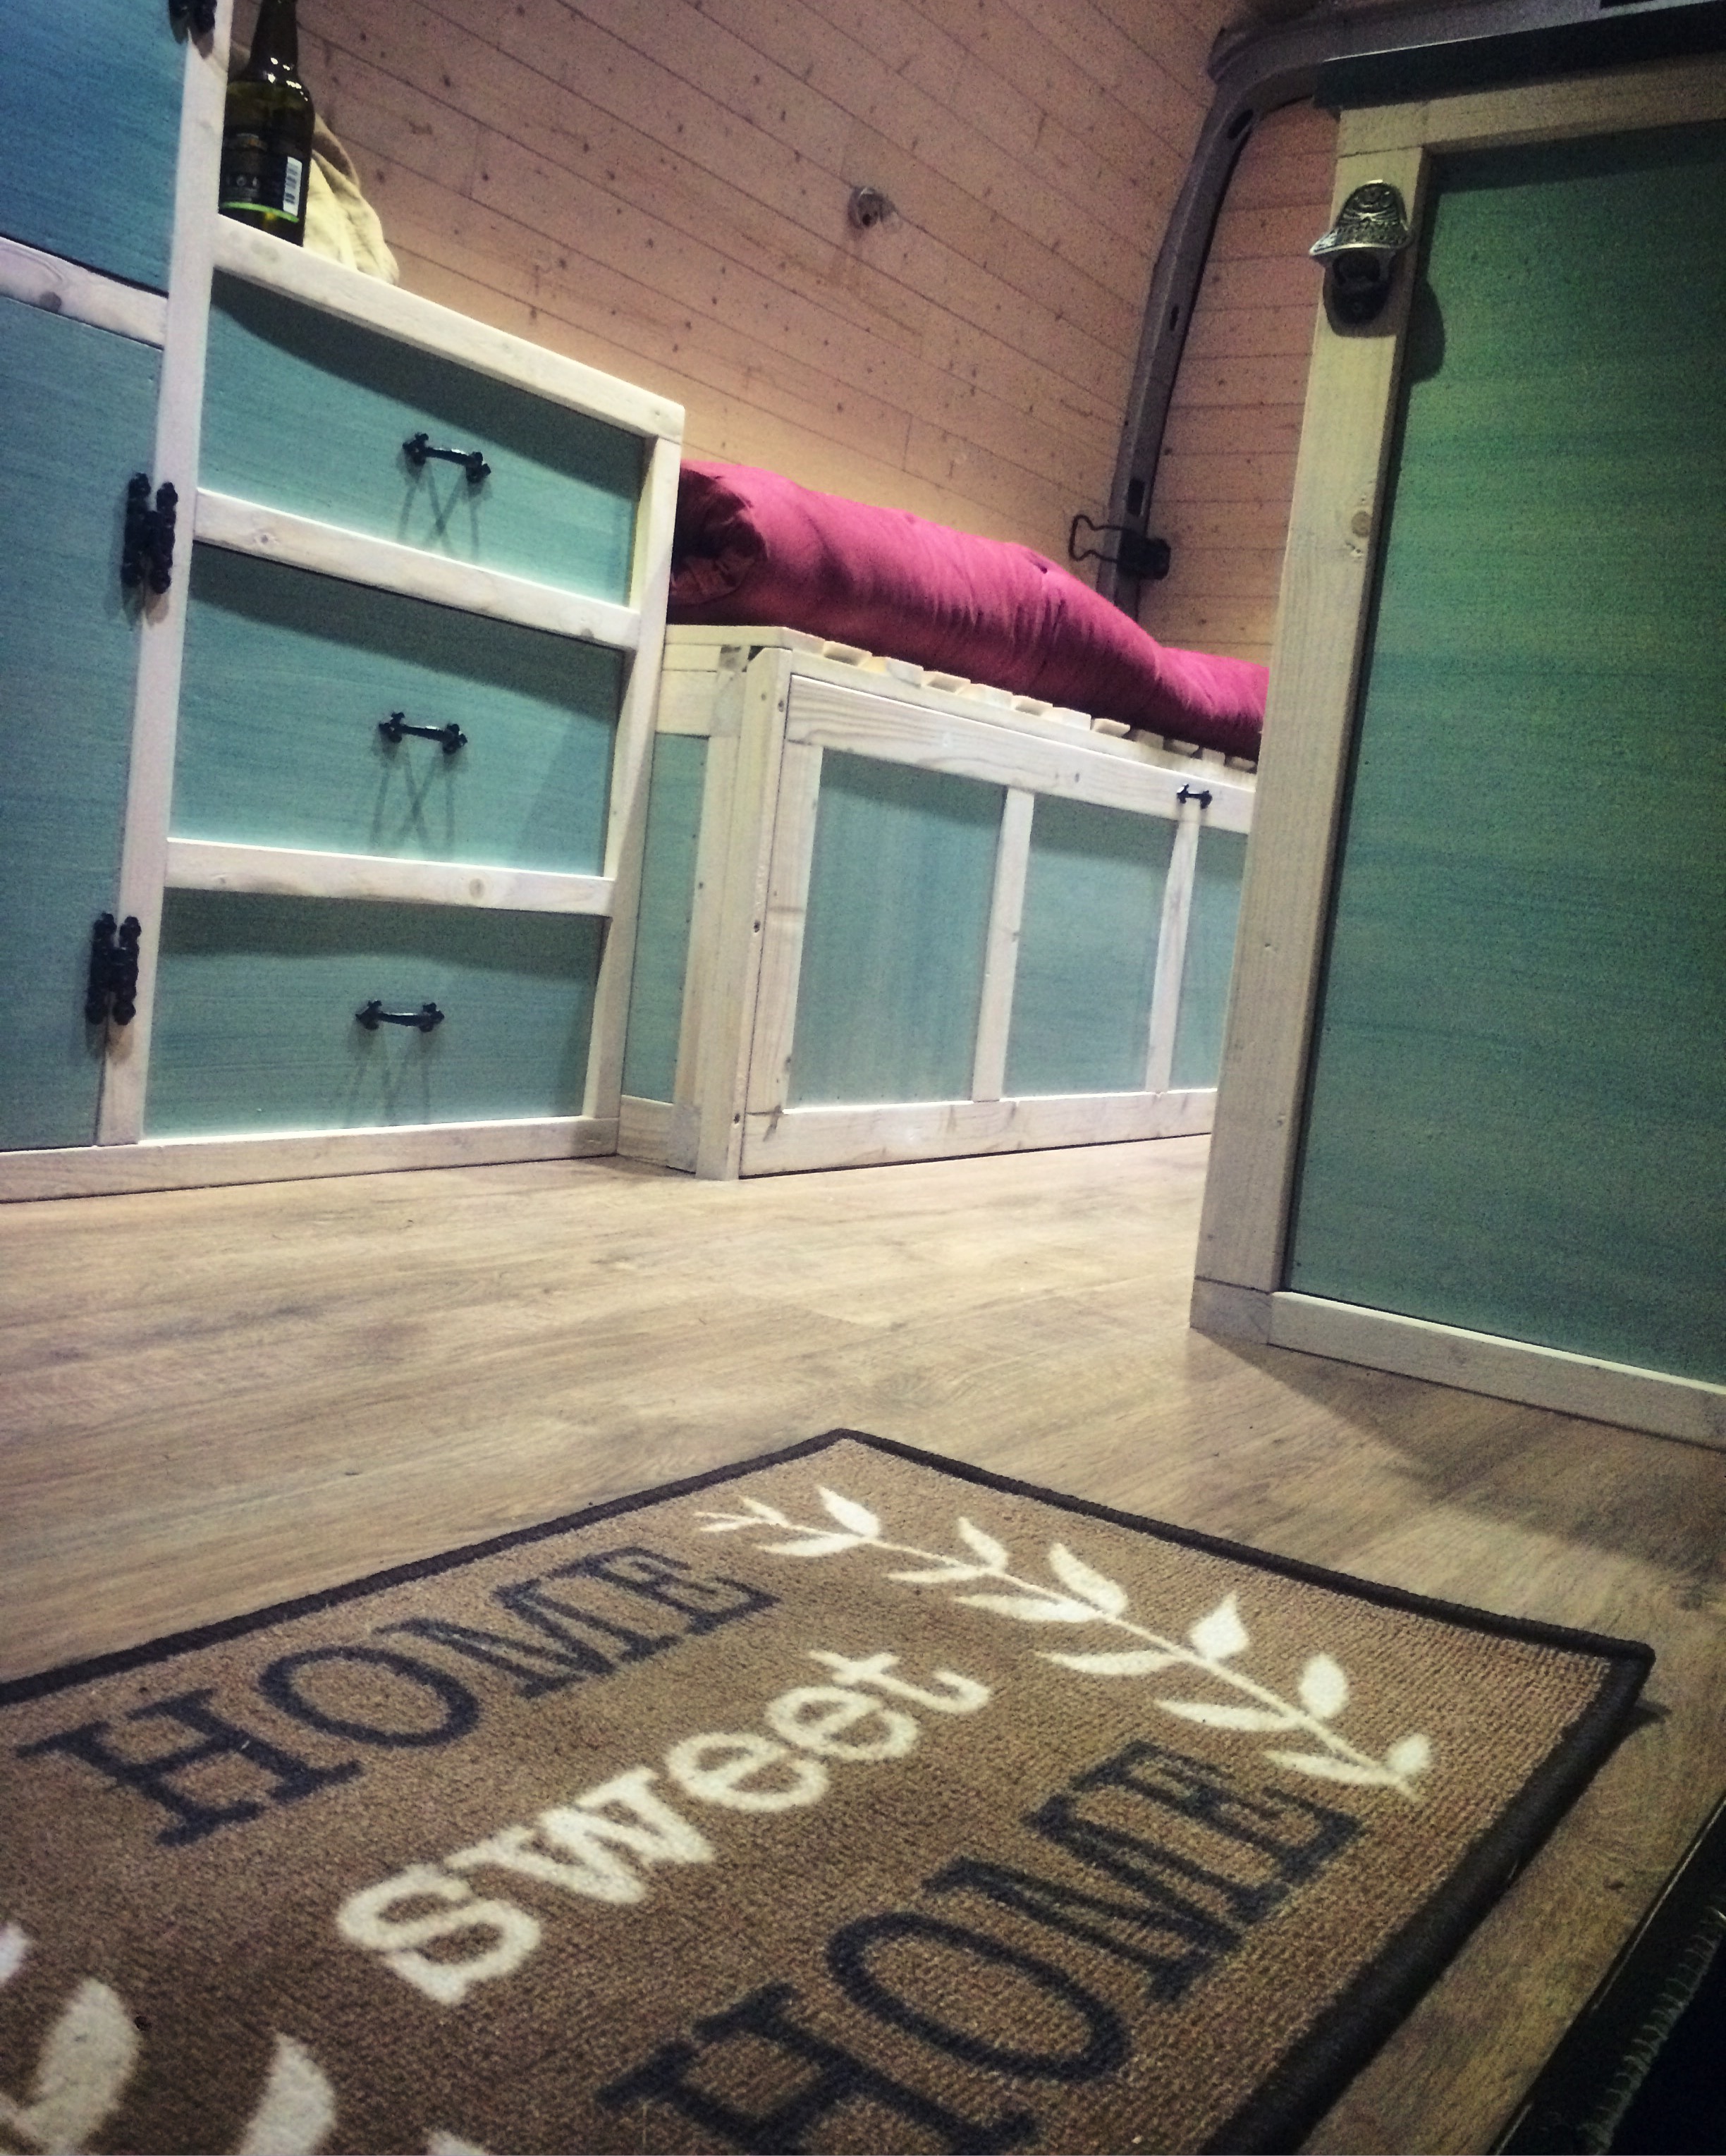
Leah gave them all a cream base coat, then finished them in a brushed out aquamarine. We intentionally left them with brush strokes visible and painted the frames in the same washed out white that we used for the walls.

We got hold of some funky cast iron hinges from the internet and although it’s super different from my original intentions of making a dark interior, I love the finish. It reminds me of a beach hut.

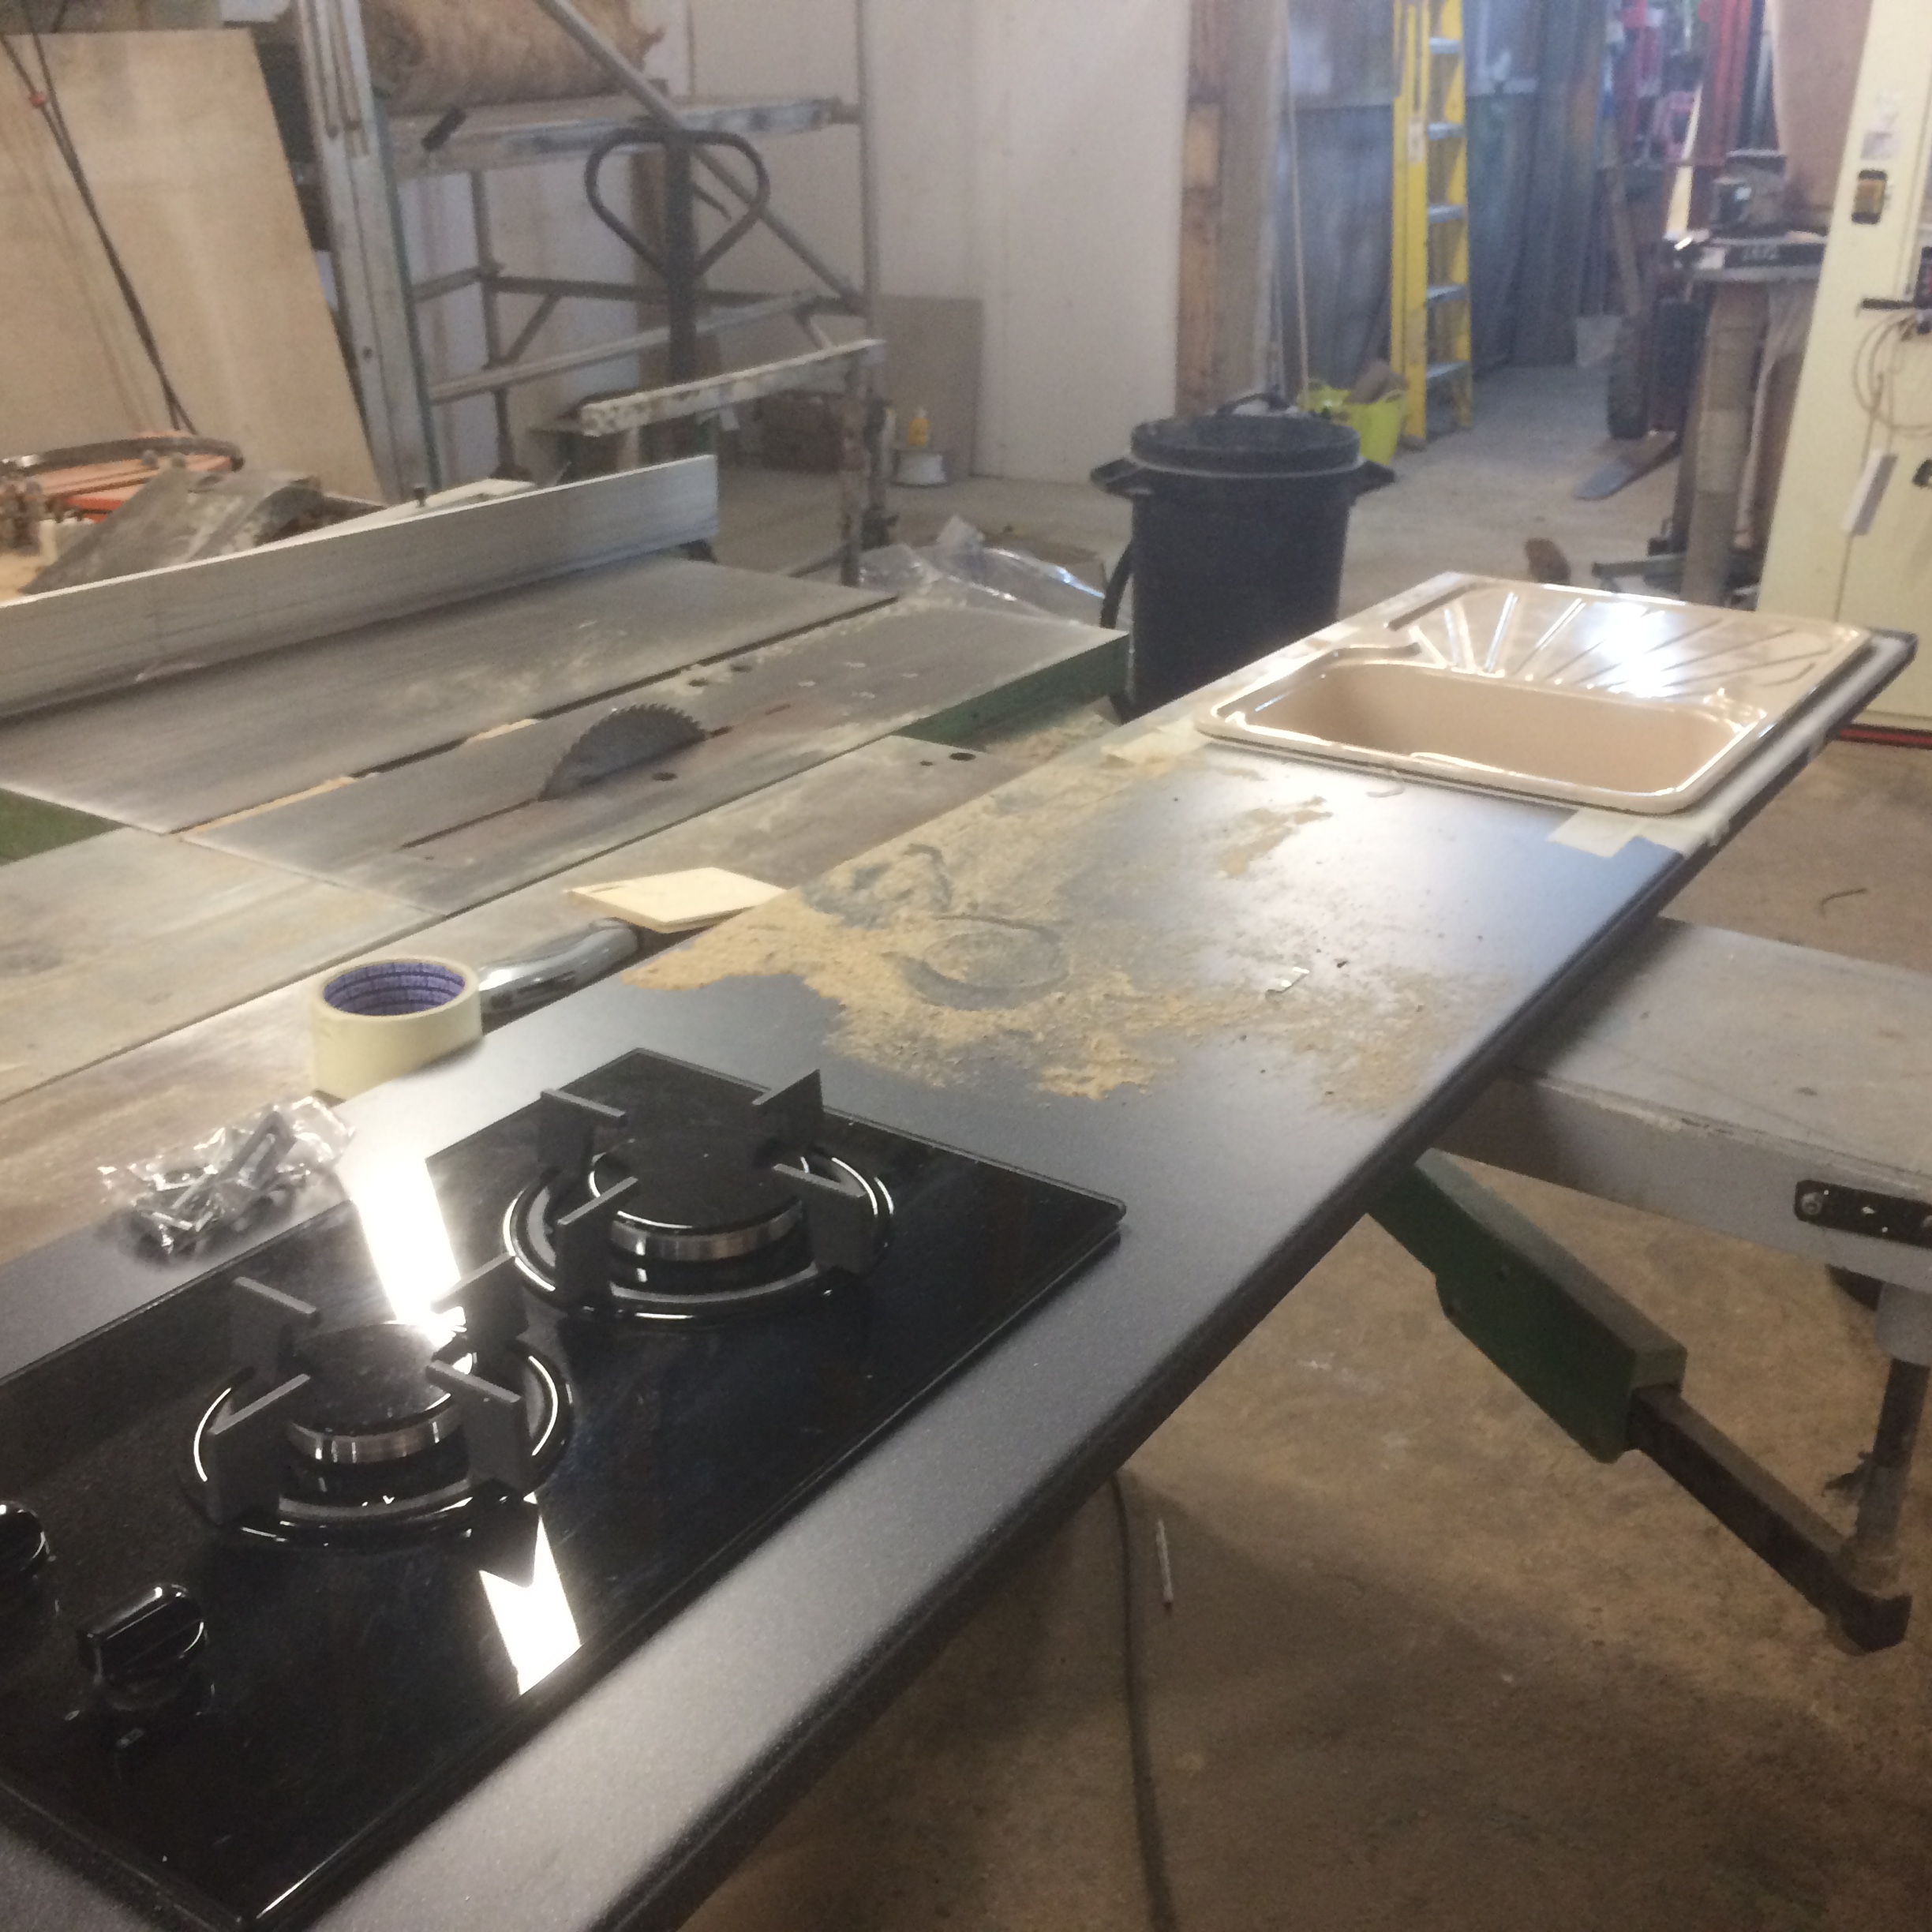
I bought the cheapest work surface I could find and fitted a second hand caravan sink from eBay, as well as a brand new gas stove (I didn’t want gas leakages). Once this was fitted, we lifted the whole piece into the van and fixed it from below.
When we closed off the ends of the furniture and started adding the handles, the van was really starting to look complete. Despite this, it was a constant mess as so much was always going on and I found myself fumbling through piles of tools and materials constantly.

At this point, the base of the van was done. I had way more storage than I anticipated and in hindsight, could have done without the massive wardrobe, making space for something else instead. The bed probably offered enough storage, being able to fit more than two large suitcases. Again, this is a lesson I learnt from doing this for the first time. As we were using this van to move everything we owned from the UK to Malta, we went overkill on the storage options.

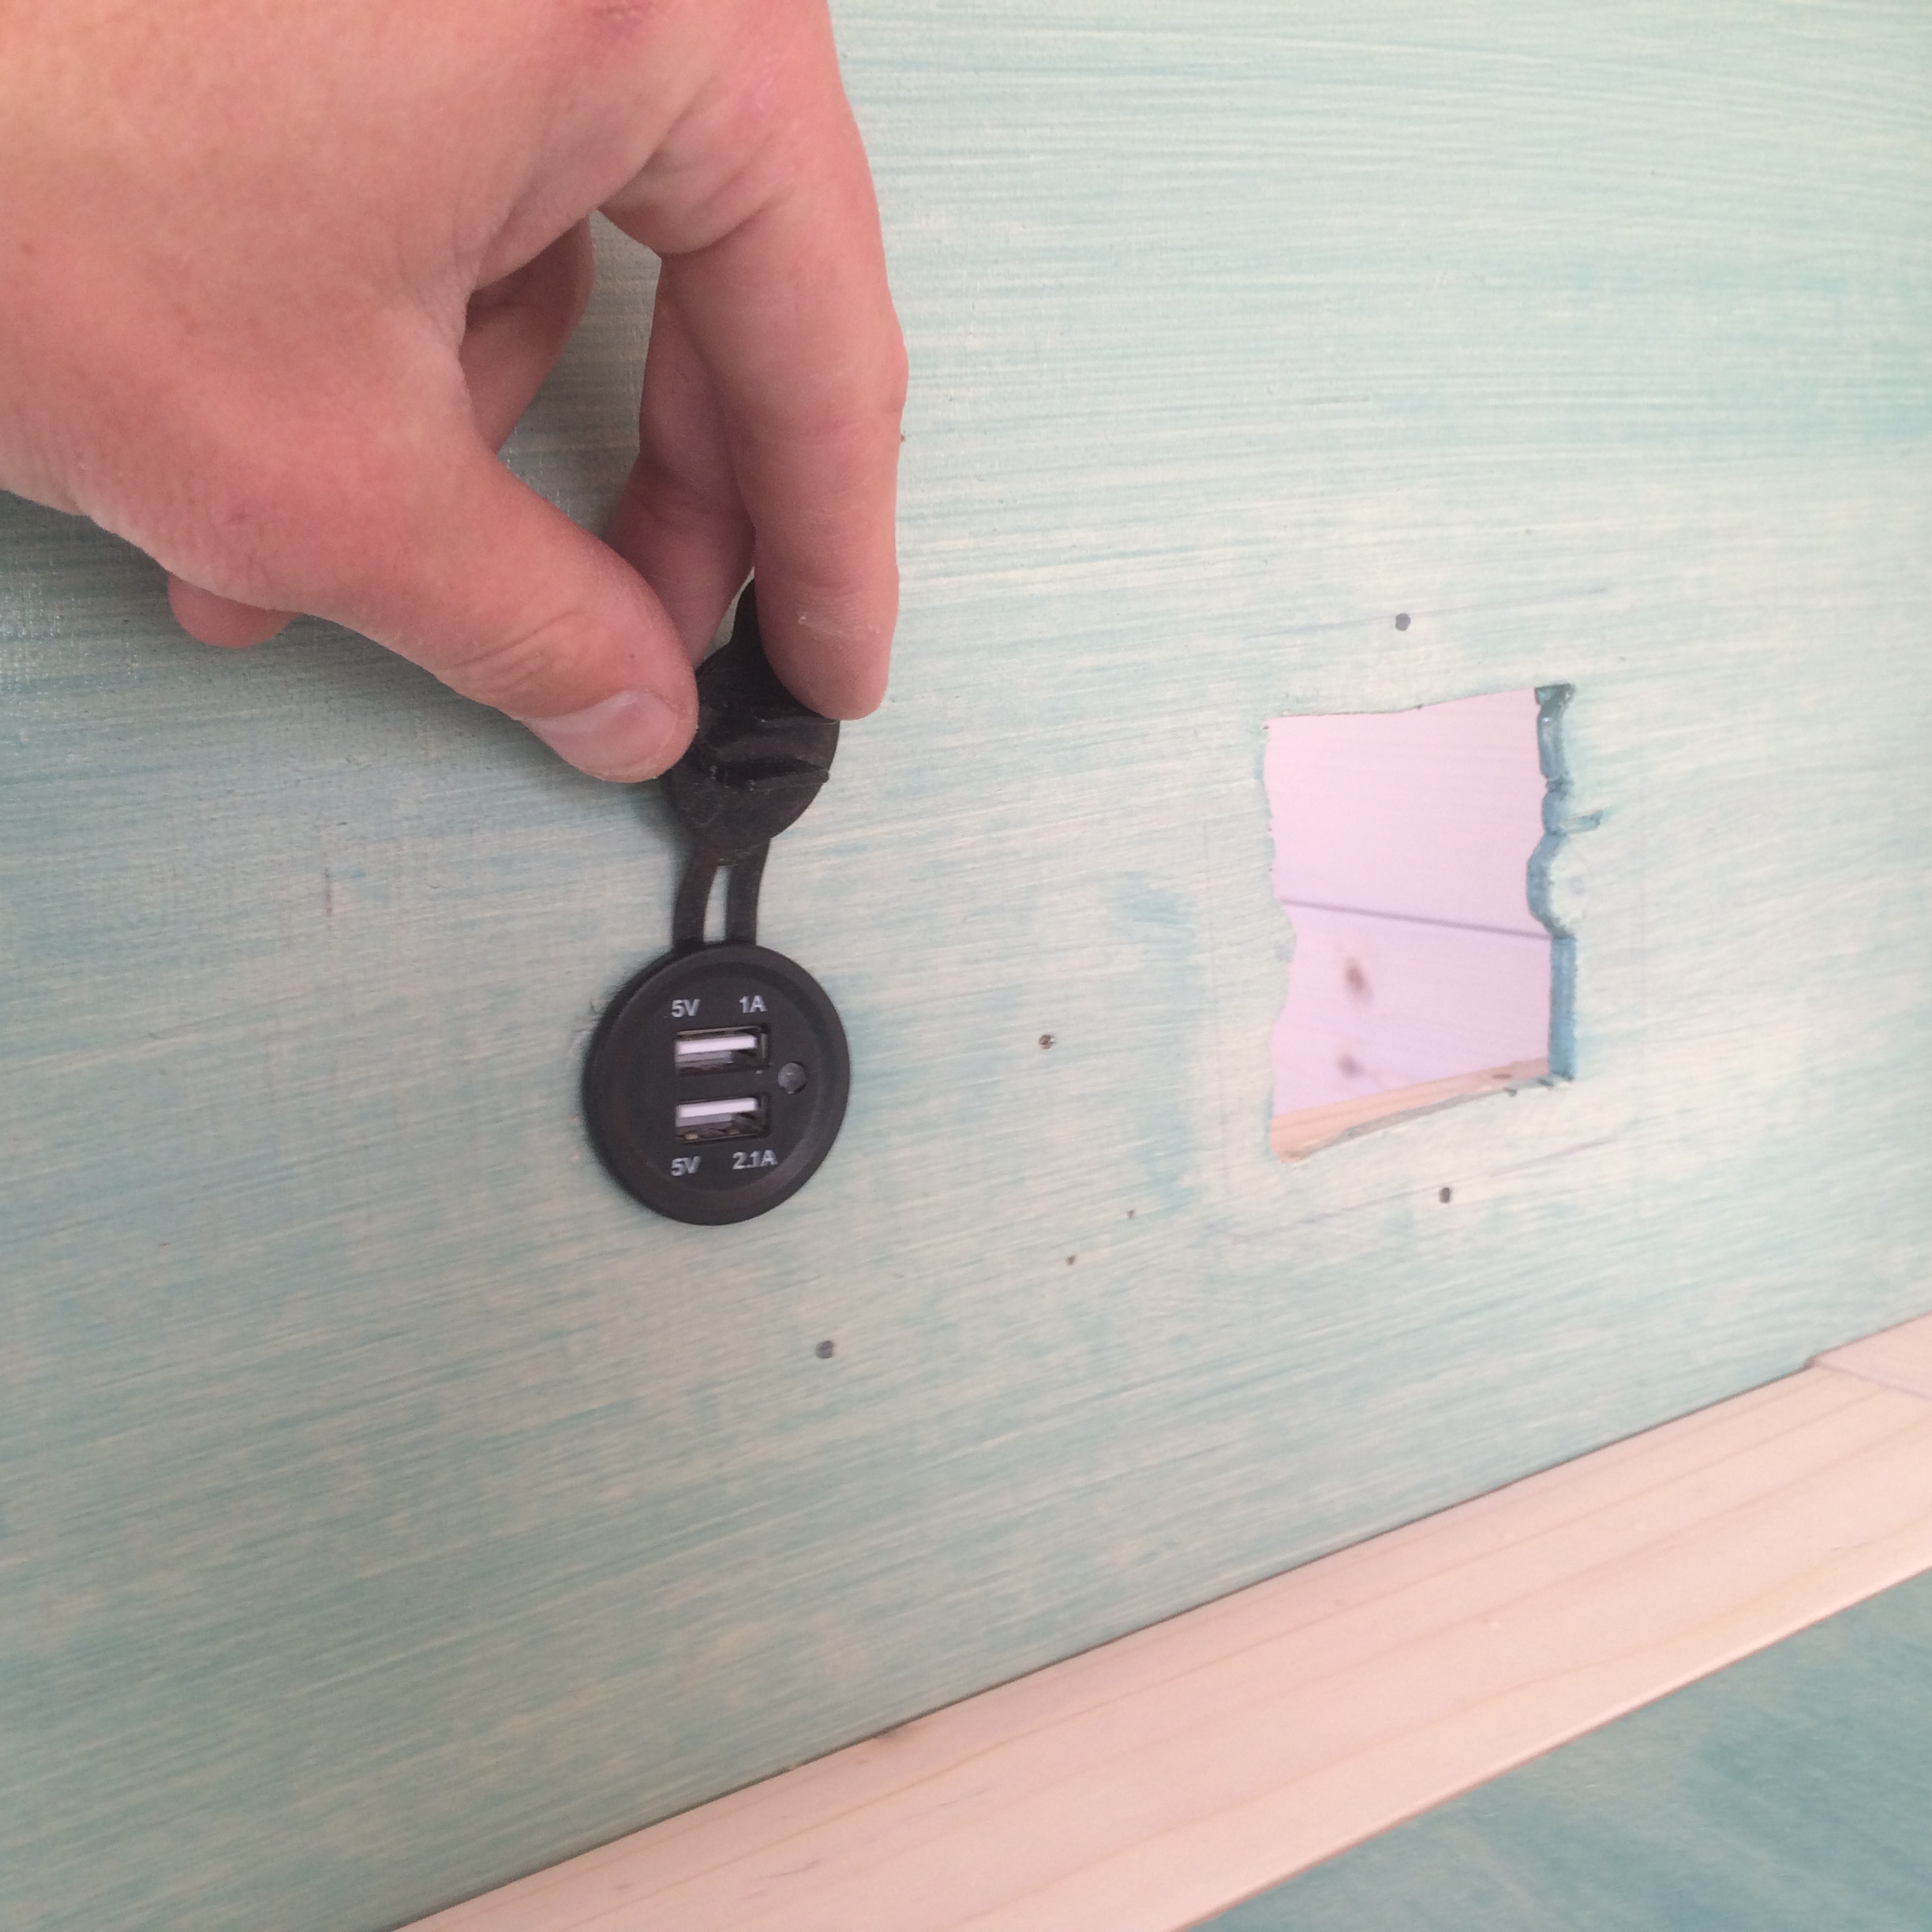
Utilising the leisure battery, I fitted a USB charger and a 230v socket, powered through an inverter. It goes into the funny shaped gap you can see here.
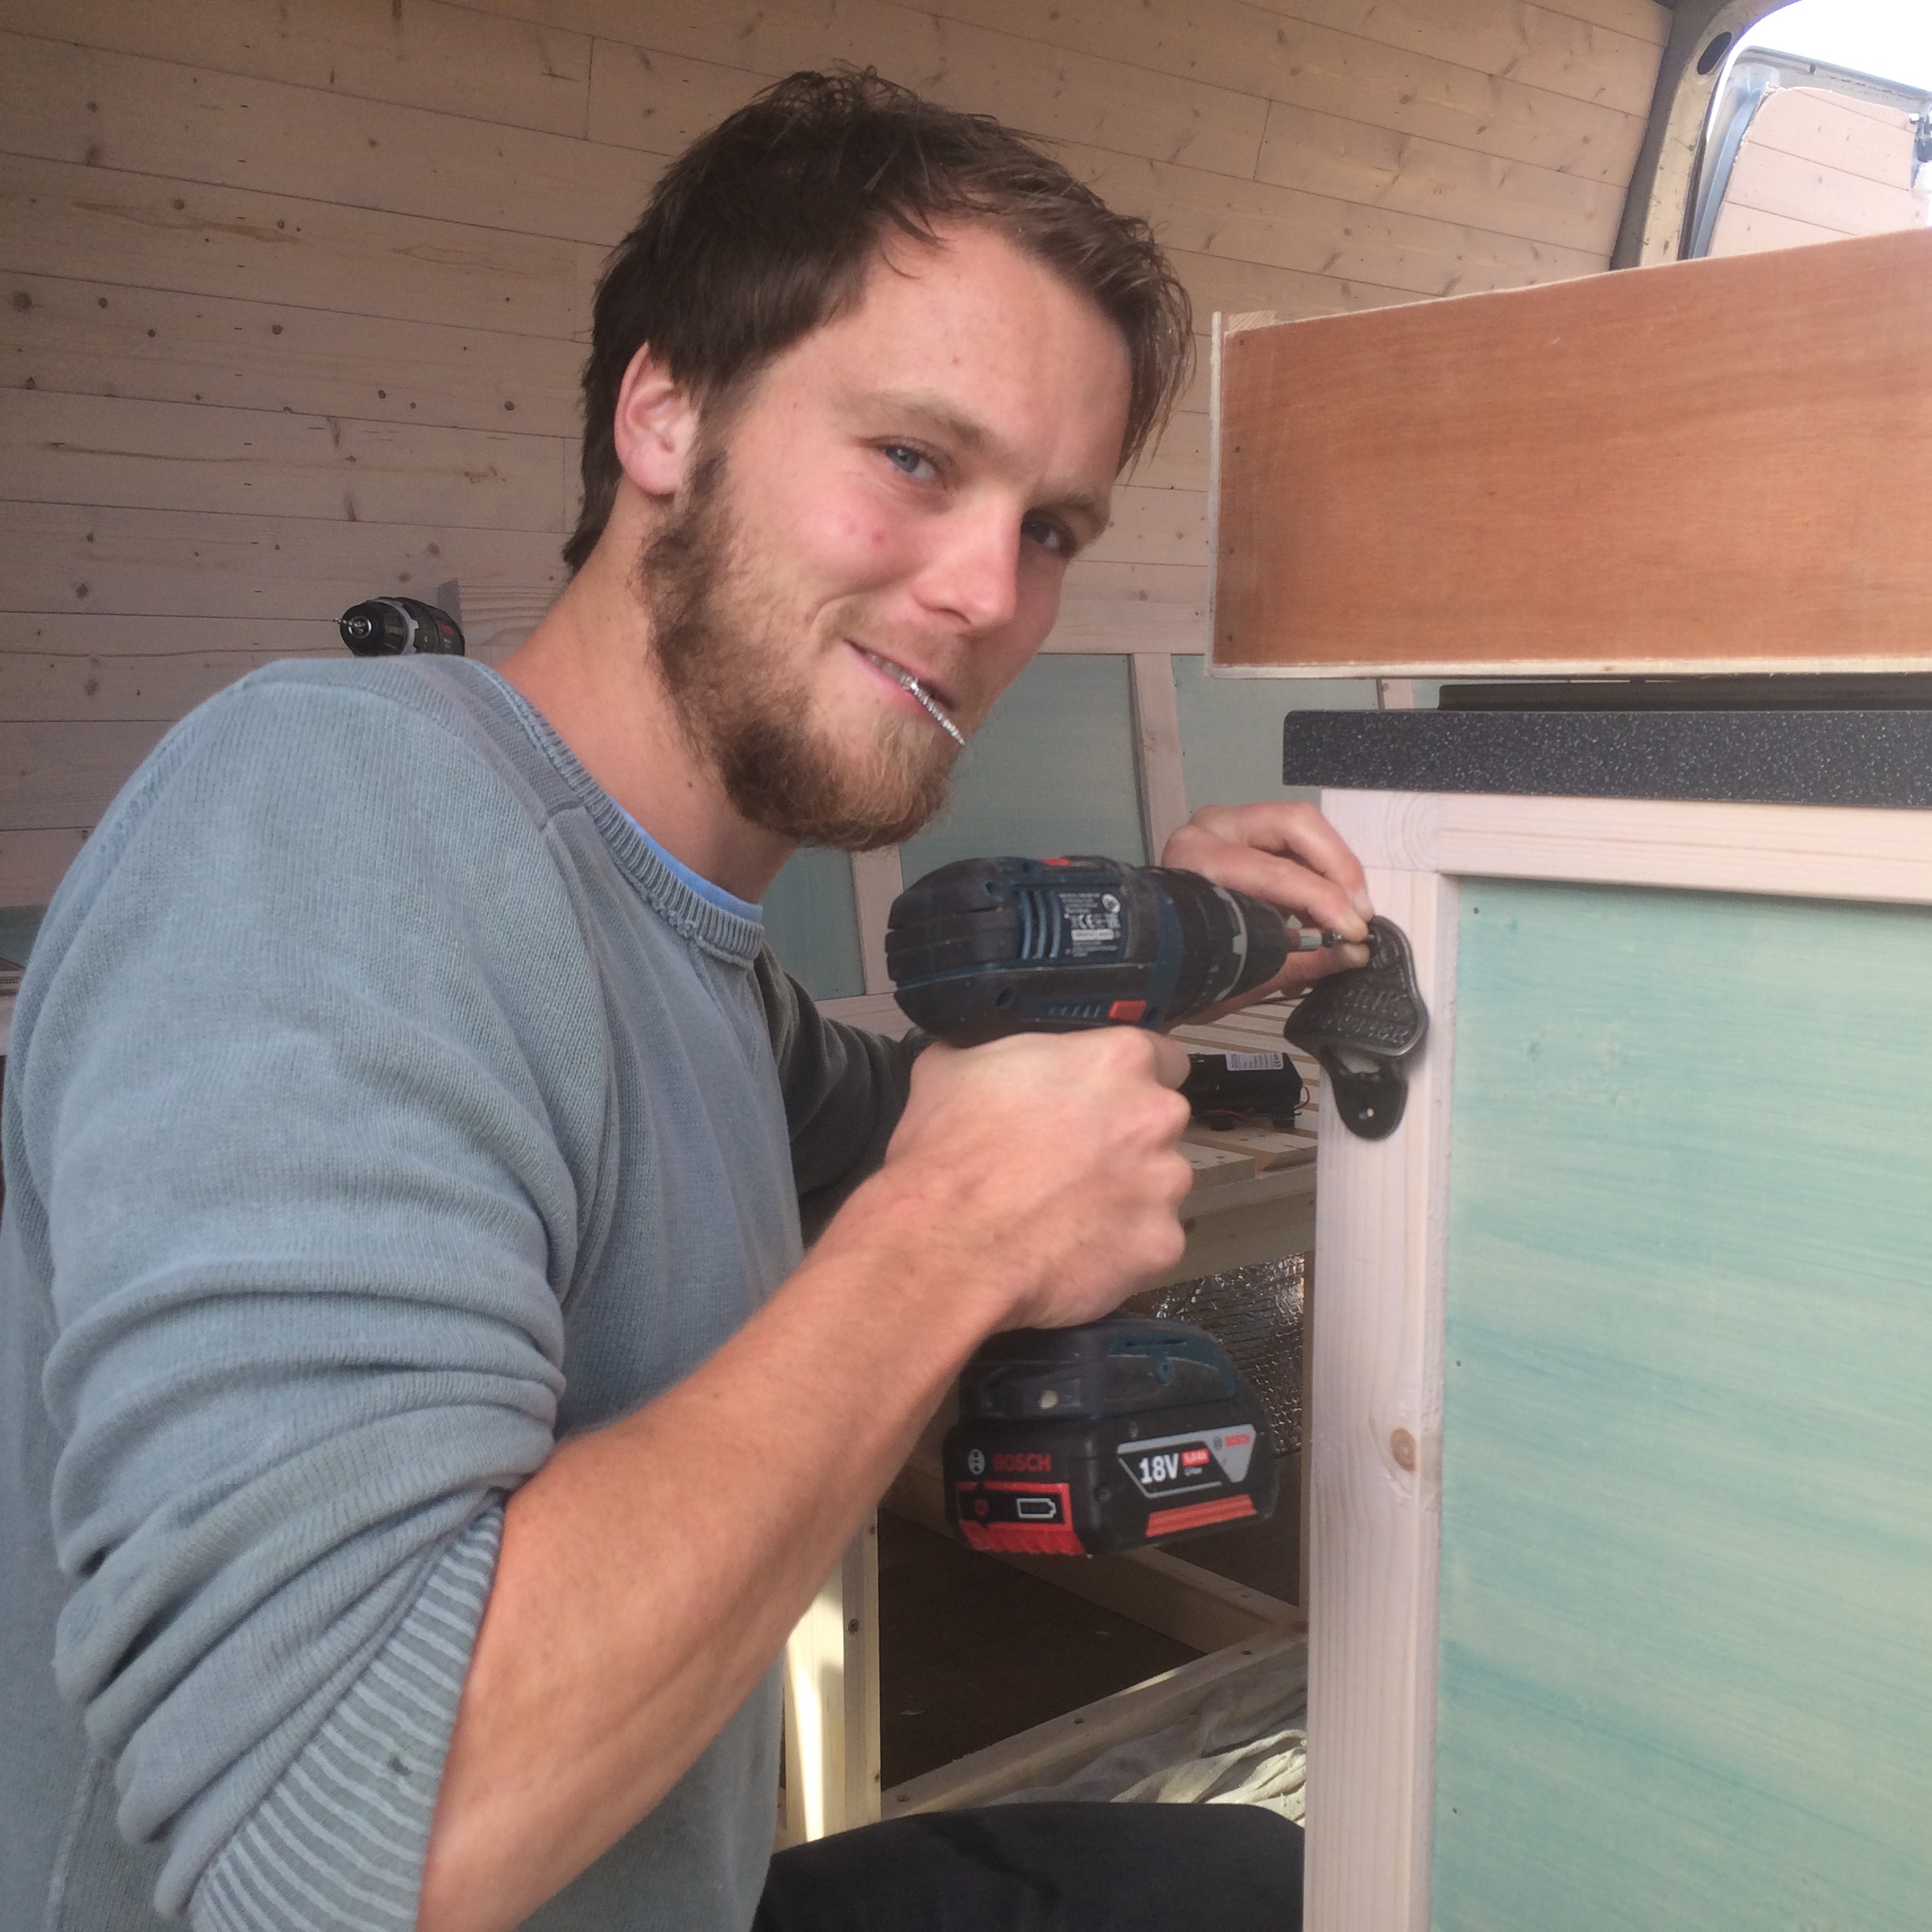
One of the most important finishing touches was fitting the bottle opener. It proclaims that everyone should drink craft beer – something I believe in.
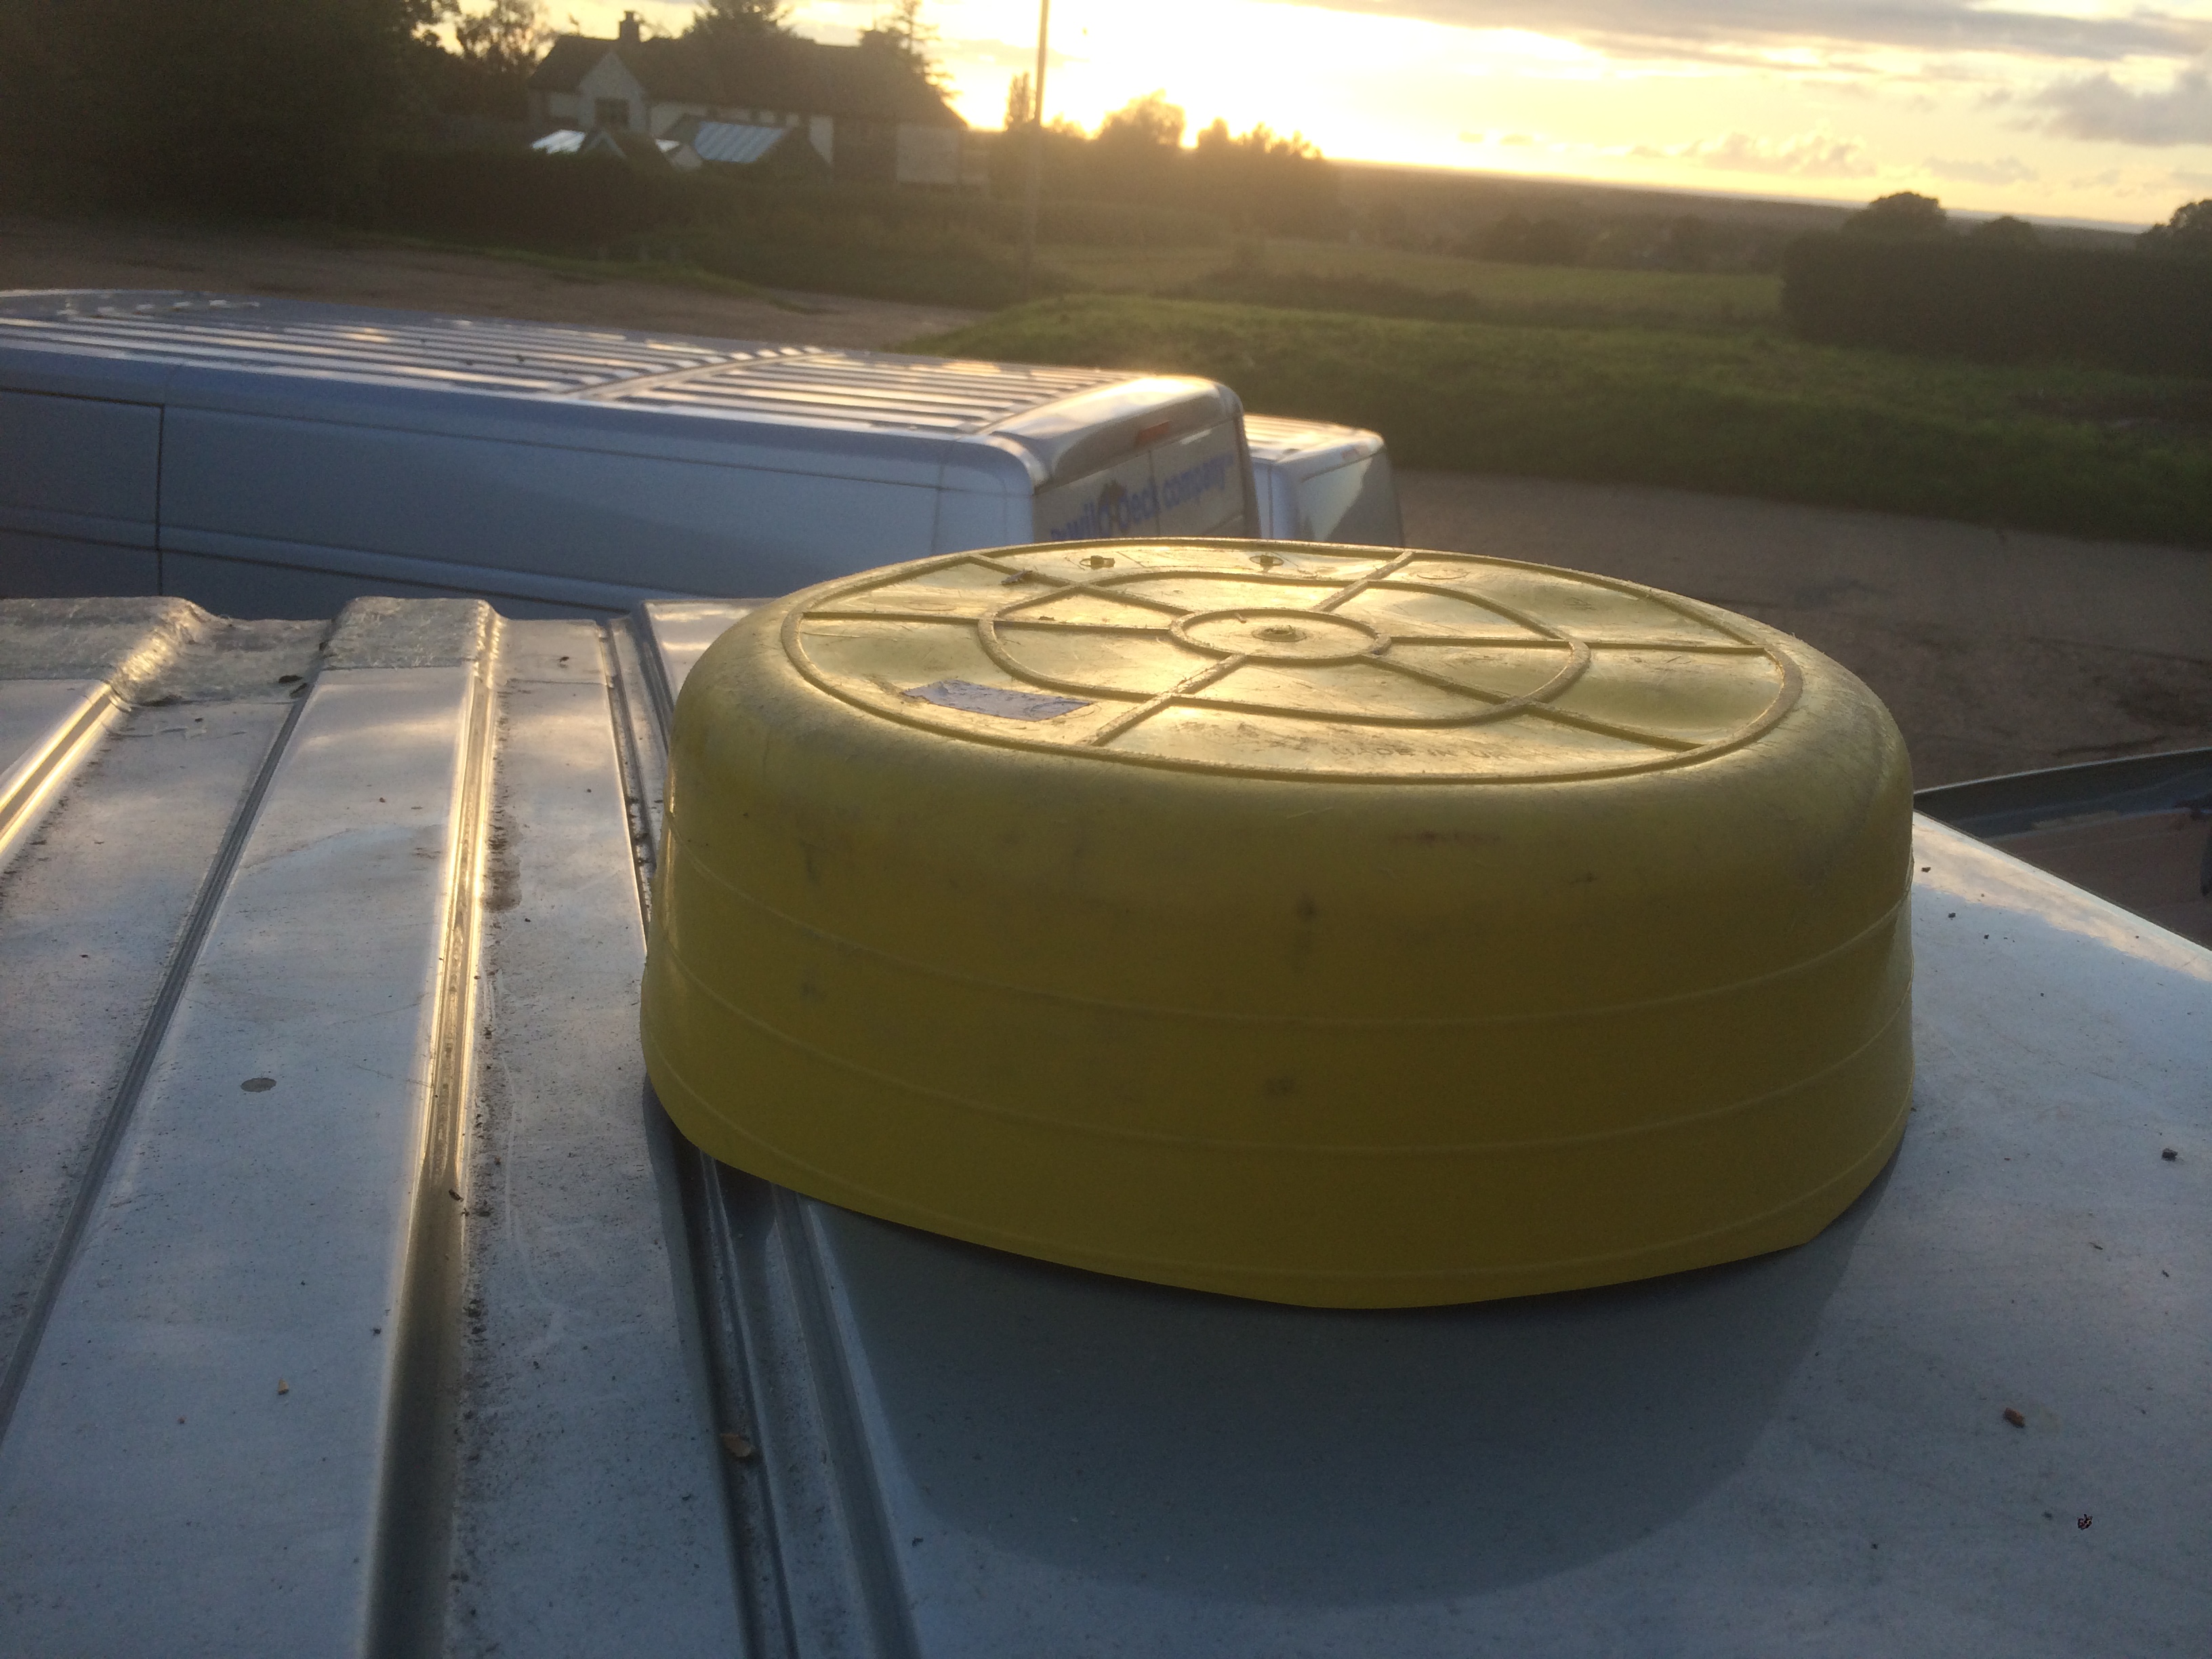
My brother once drove the van through Mcdonalds’ drive through, only to find that the van is taller than the drive through. This ripped a huge tear in the top of the van (which you can see in the van walk-around) which I covered in really messy fibreglassing. The extractor fan cover was torn off and it leaks in the rain. Running out of time to complete the project, we cut the bottom off a bucket and fixed it over the extractor fan, upside-down. It was an almost perfect fit.
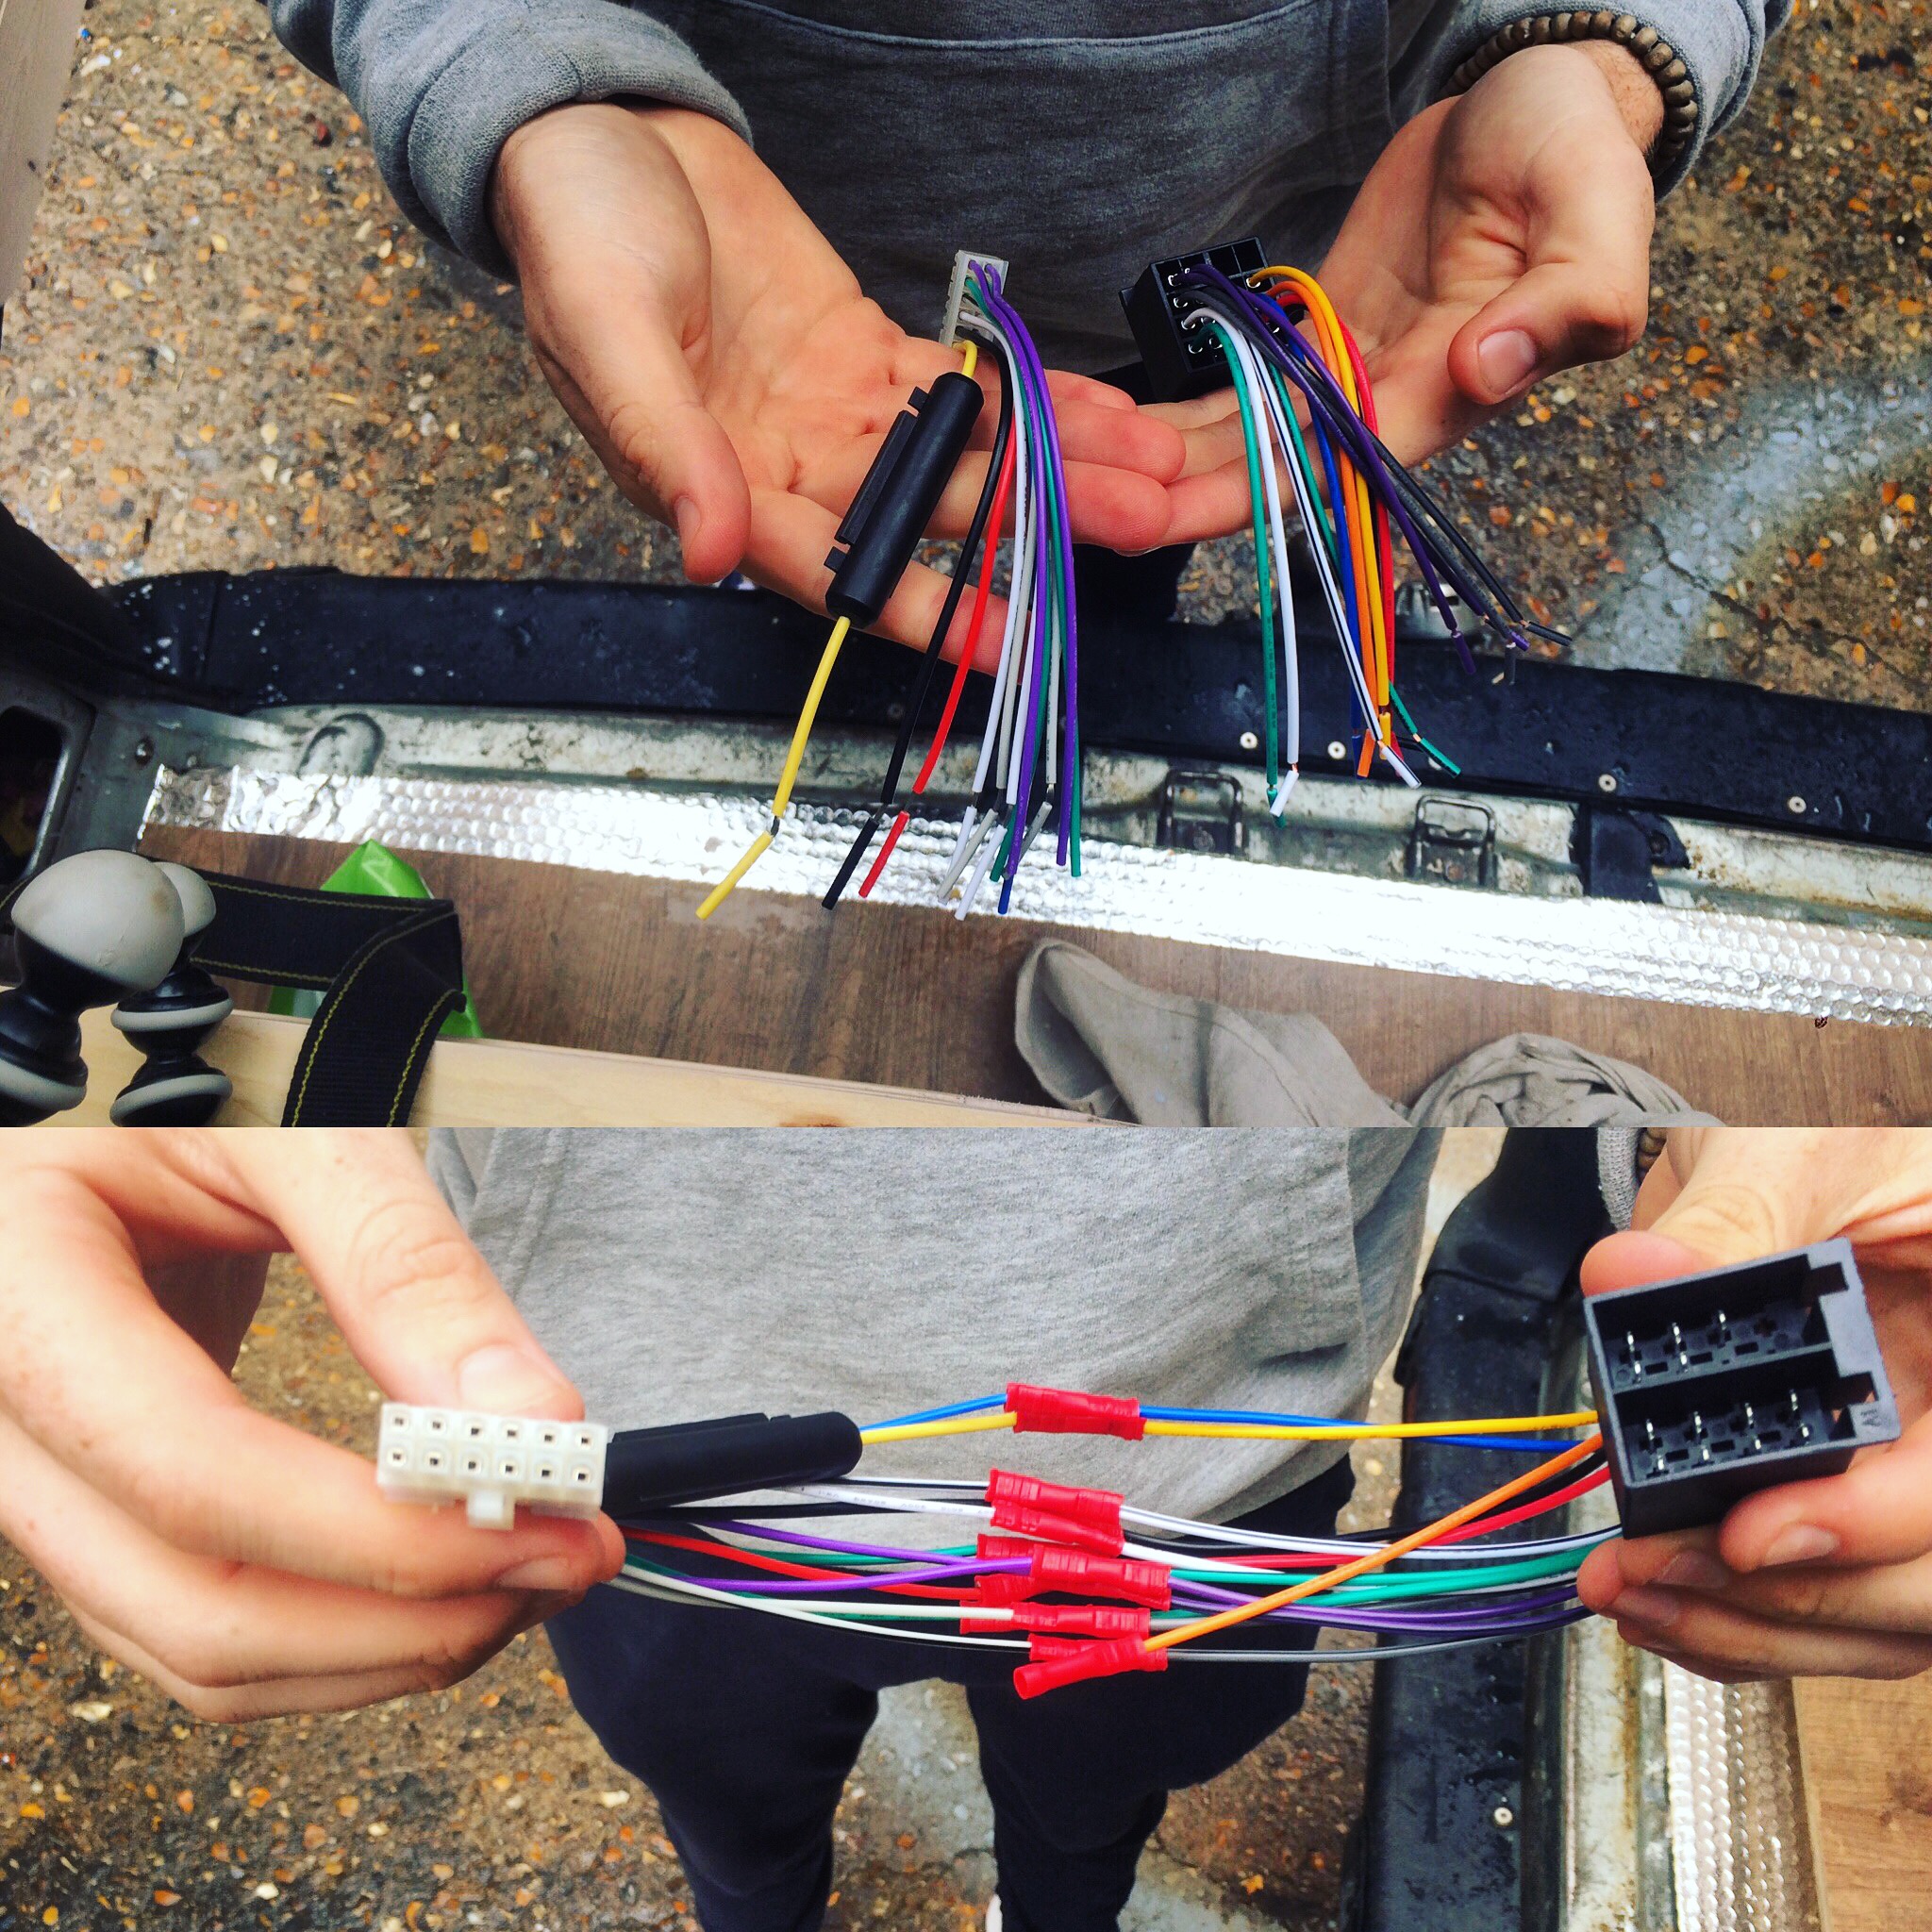
I bought an MP3, bluetooth, hands-free, do everything you want car stereo from a Chinese supplier on the internet for £16. As it was from China, it didn’t fit into the van, but another brother (the one who walked across Iceland with me) got hold of this electrical contraption which allowed us to make the stereo work.
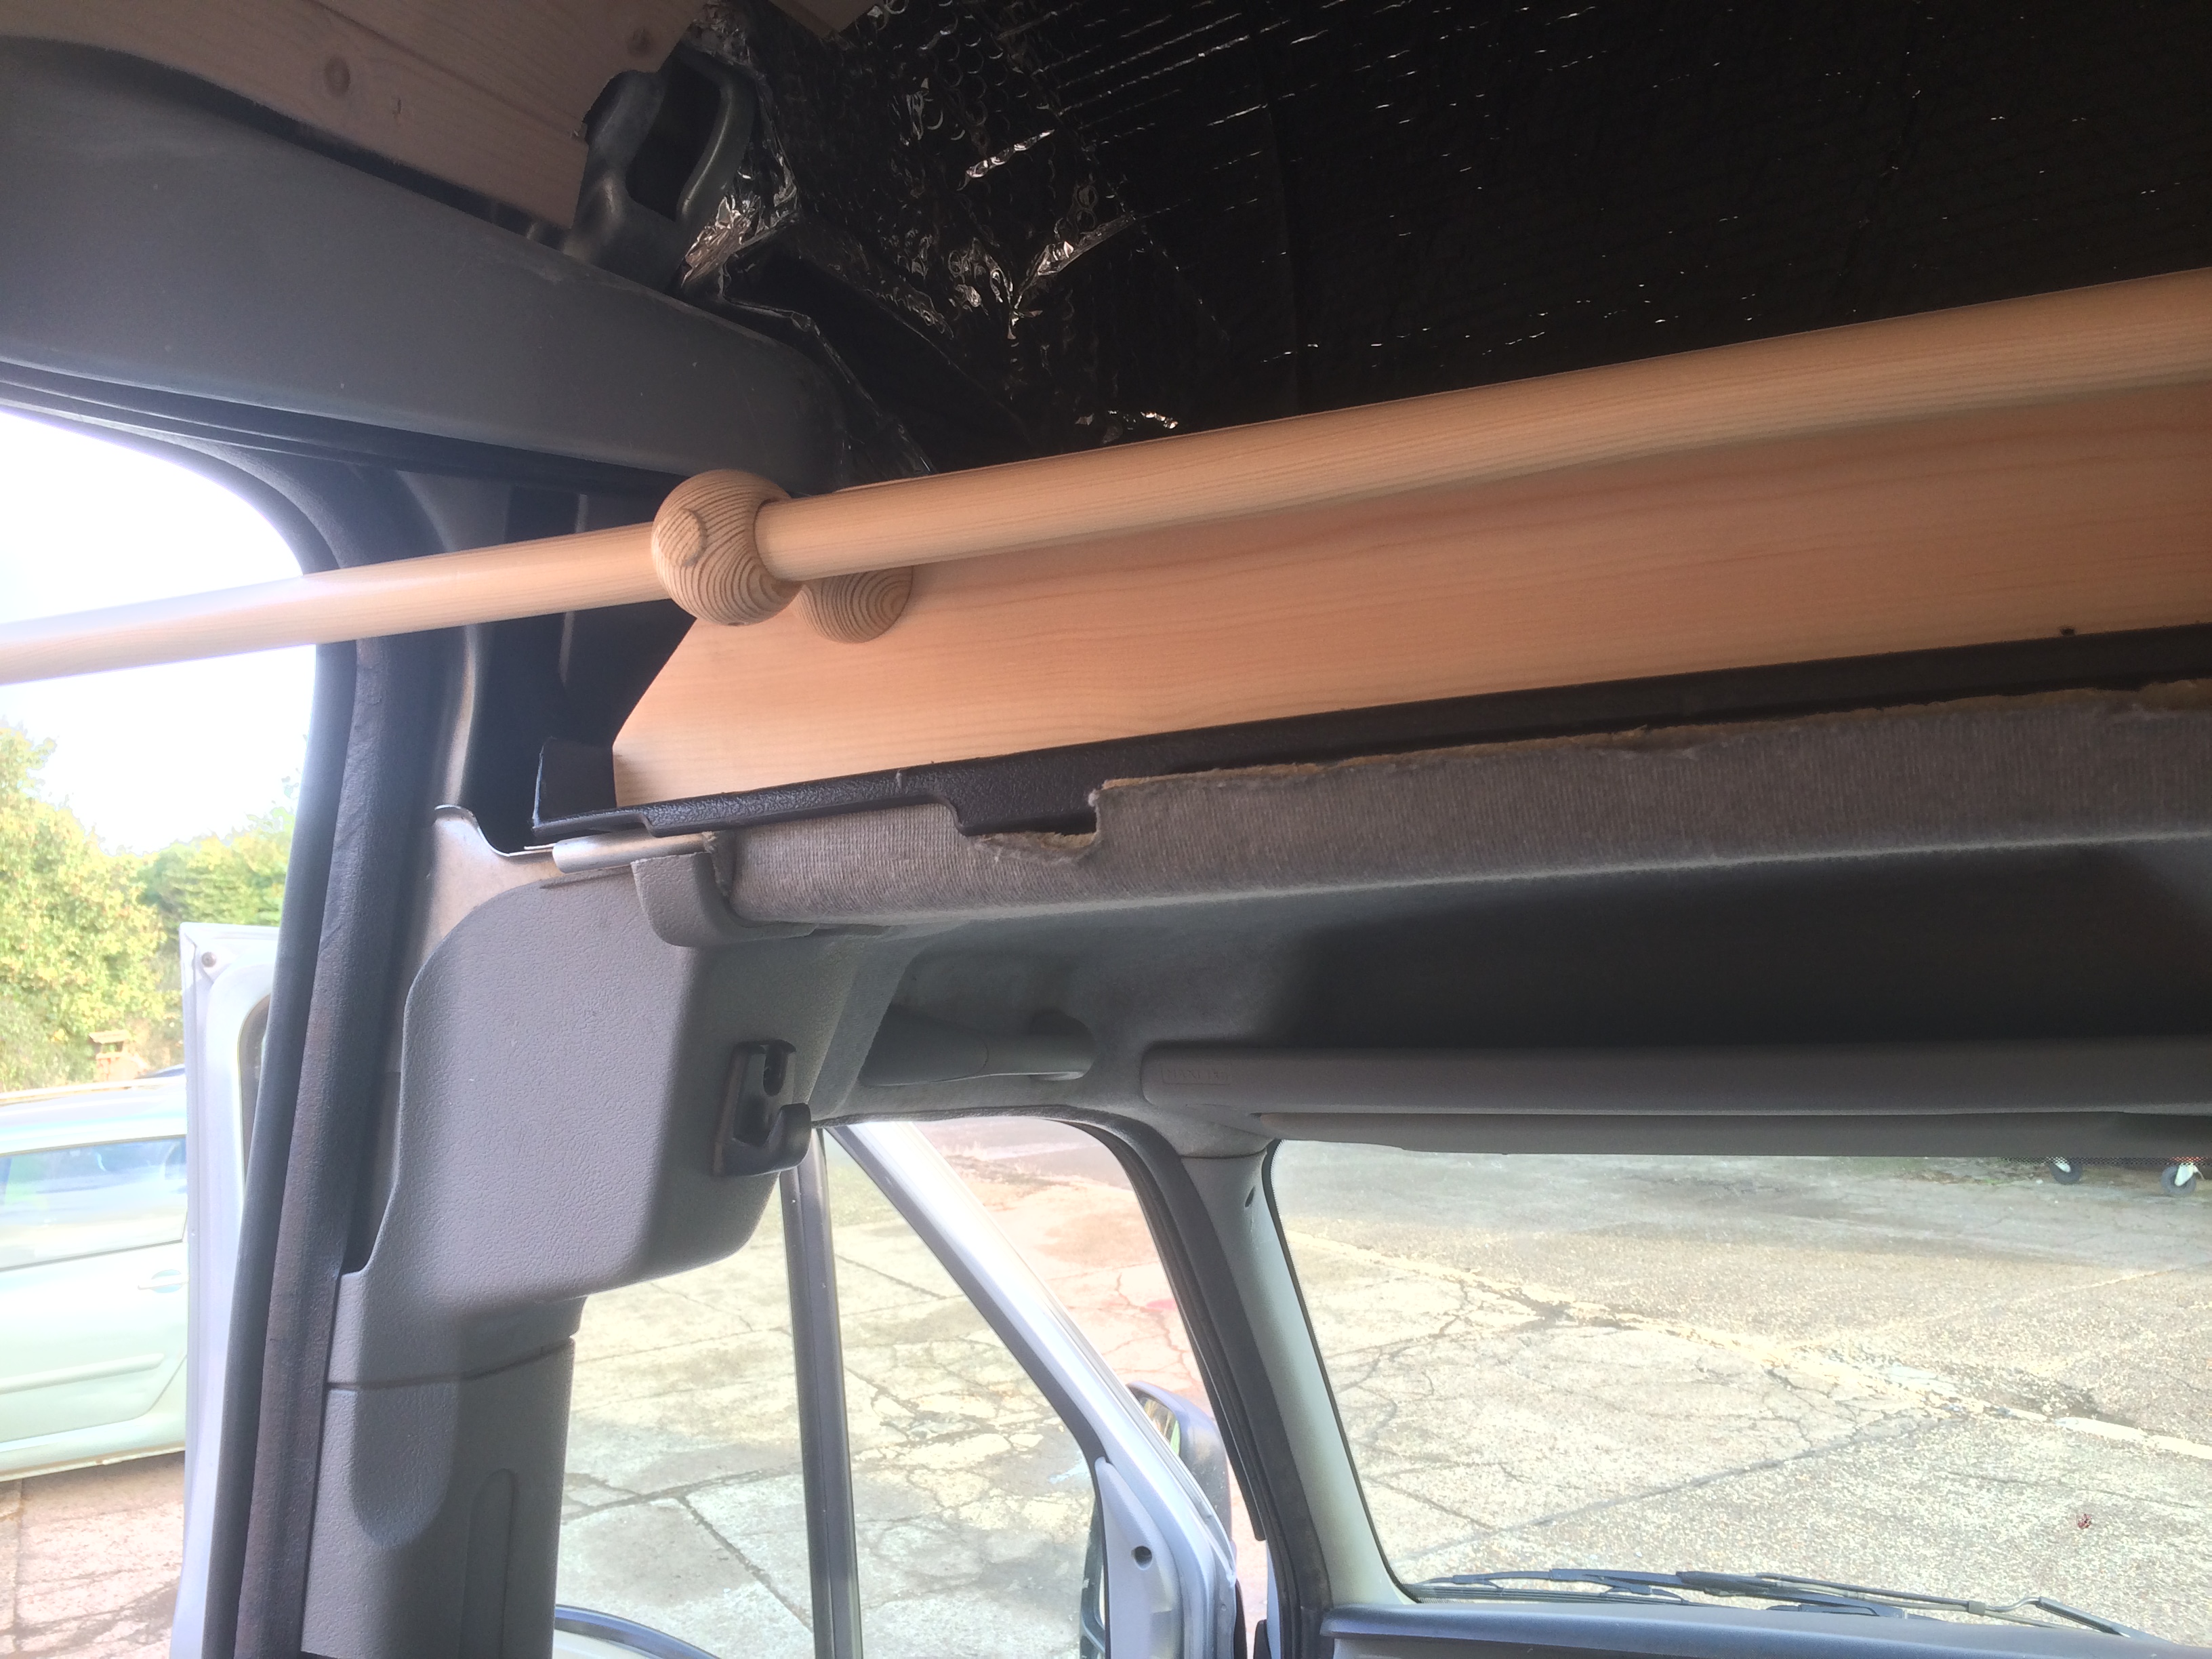
I put a rail at the front of the van and hung a heavy curtain (thank you, mum) that could be used to separate the cab from the back of the van. This was done on the very last morning – the day I left for Malta.
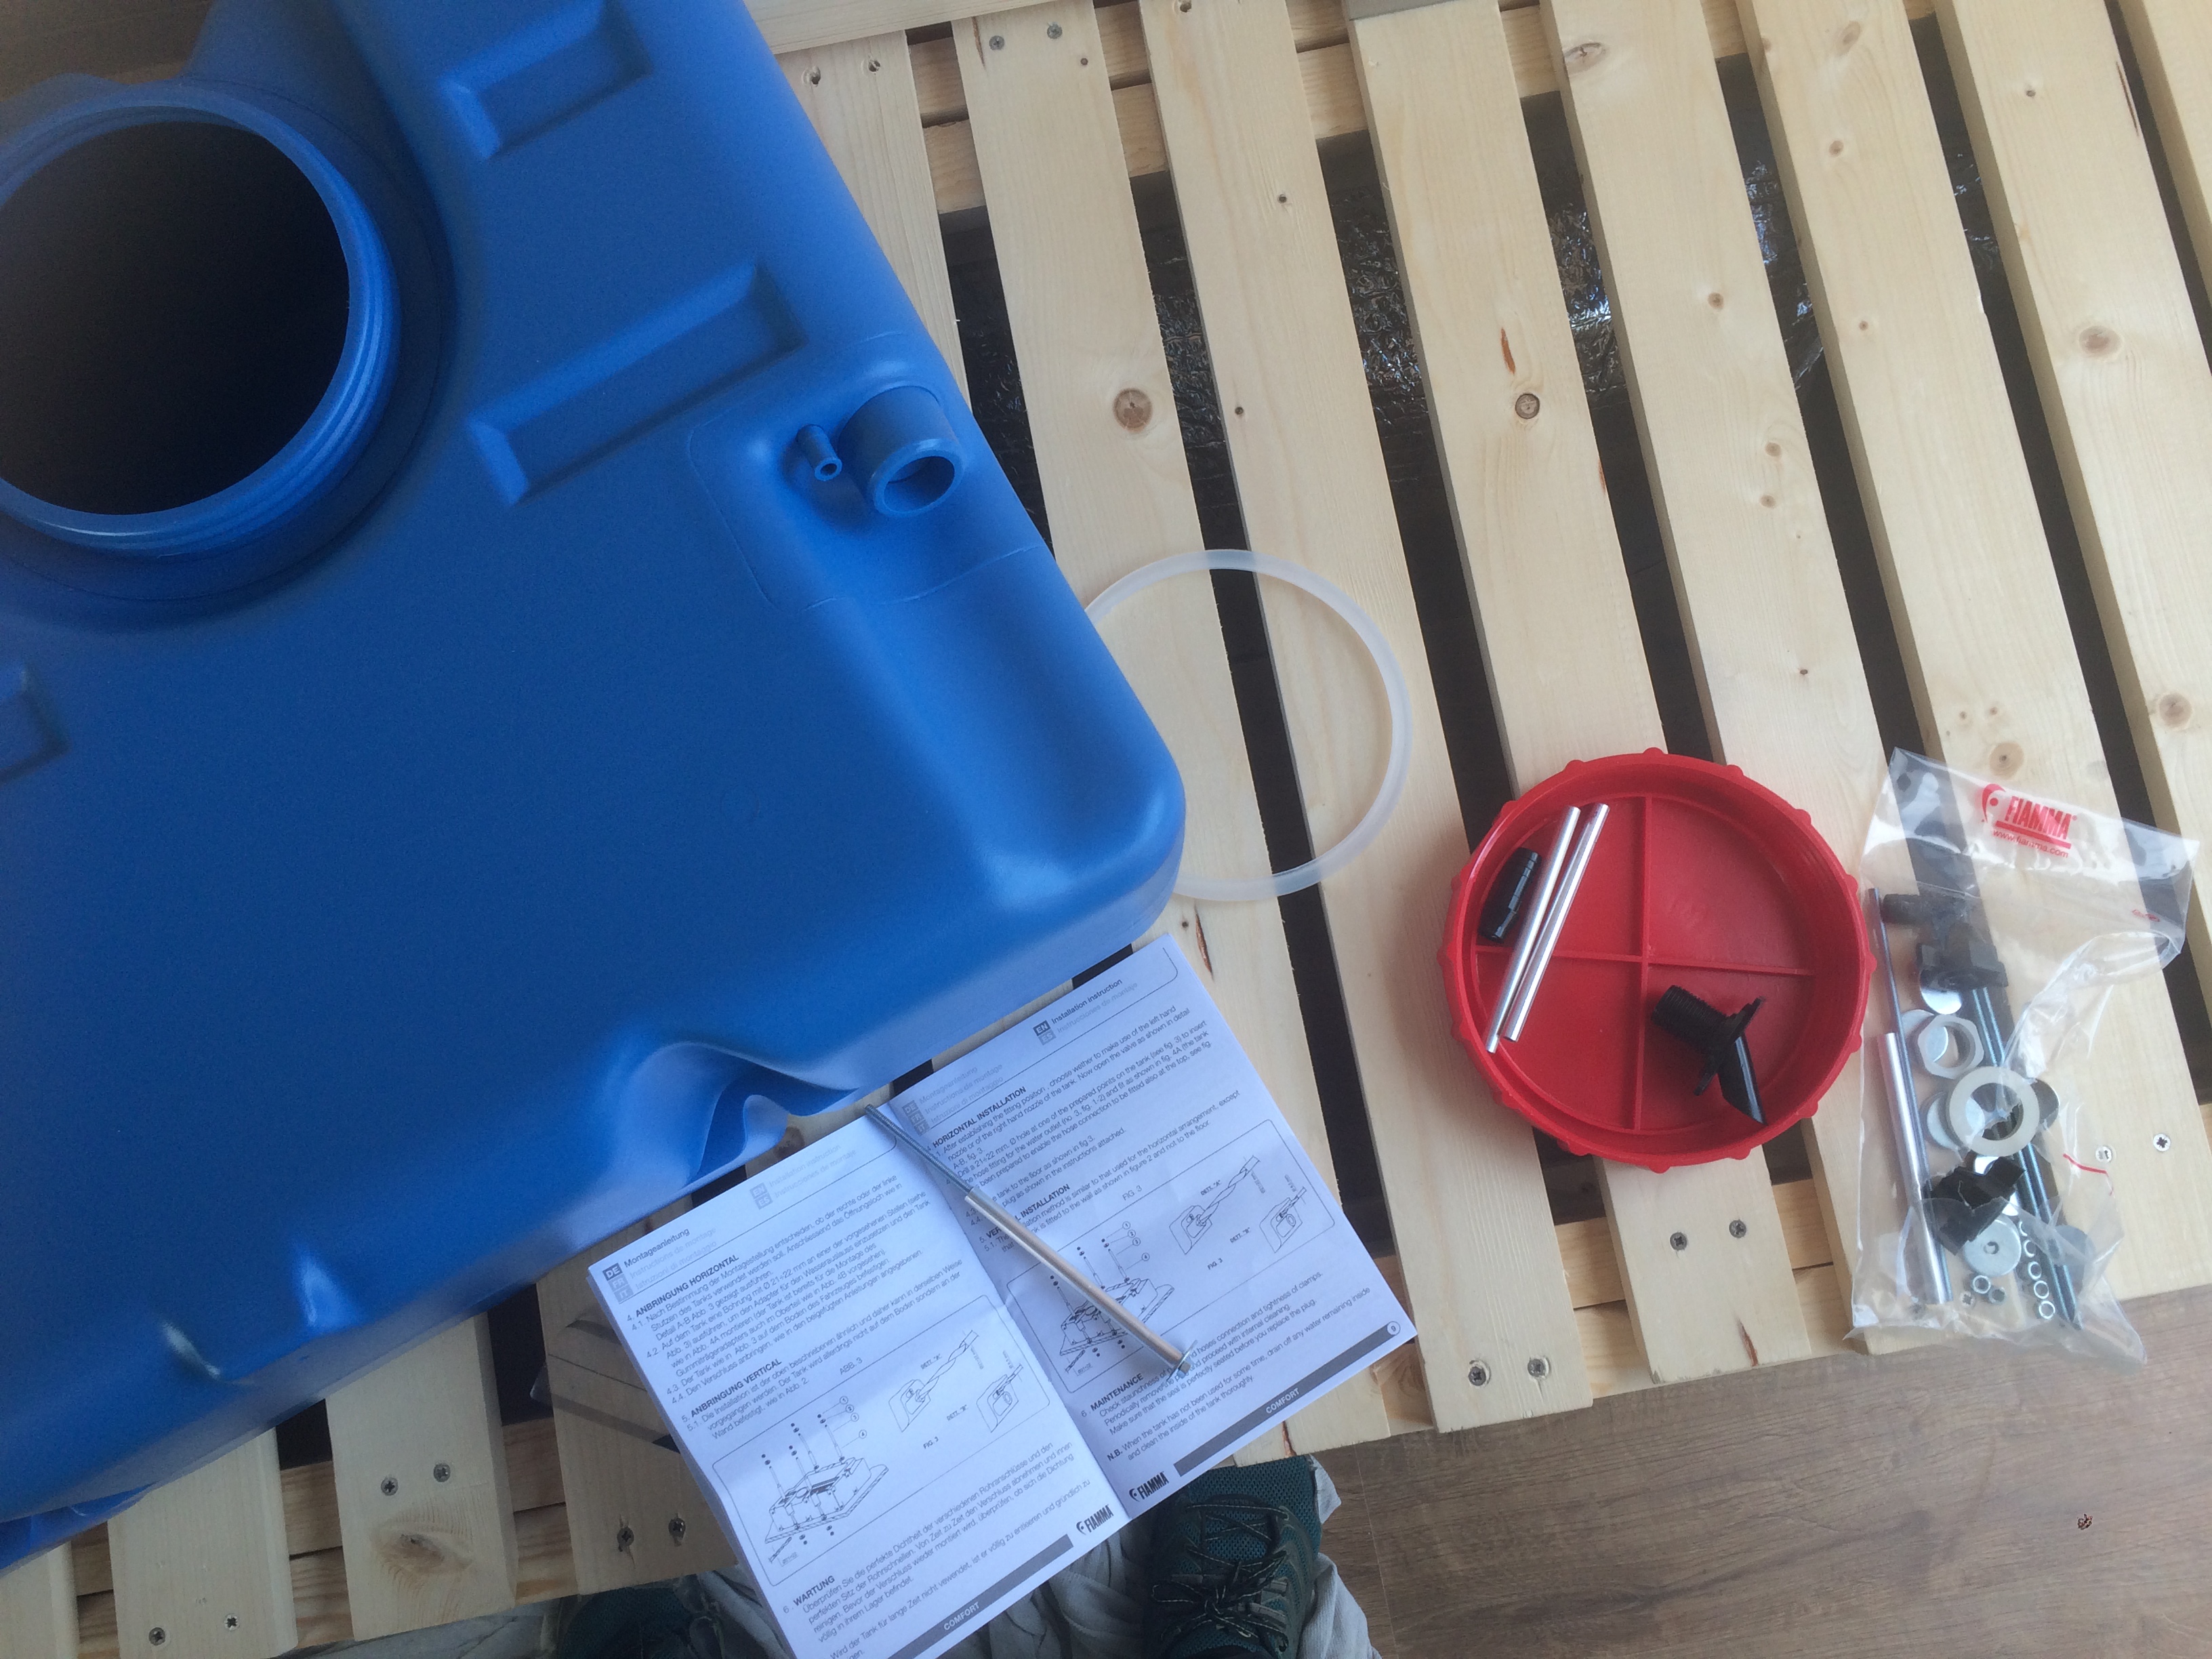
There are still more things to do such as fit the gas tank and finish some of the exposed detailing. I fitted a water tank under the kitchen, but didn’t have time to plumb it in, but one day we will have running water in the van.
The final touches involved adding nice bedding and cushions (thank you again, mother), and adding our ‘Home Sweet Home’ mat. With all this done, it was time to hit the road. Van life, yeah!

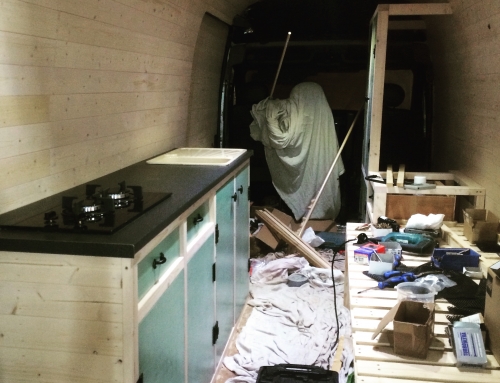
![A Tour Of My Van Conversion [Renault Master LWB 2008]](https://www.greatbigscaryworld.com/wp-content/uploads/2017/02/My-One-Month-Donkey-Van-Conversion-Tour-500x383.png)

Leave A Comment